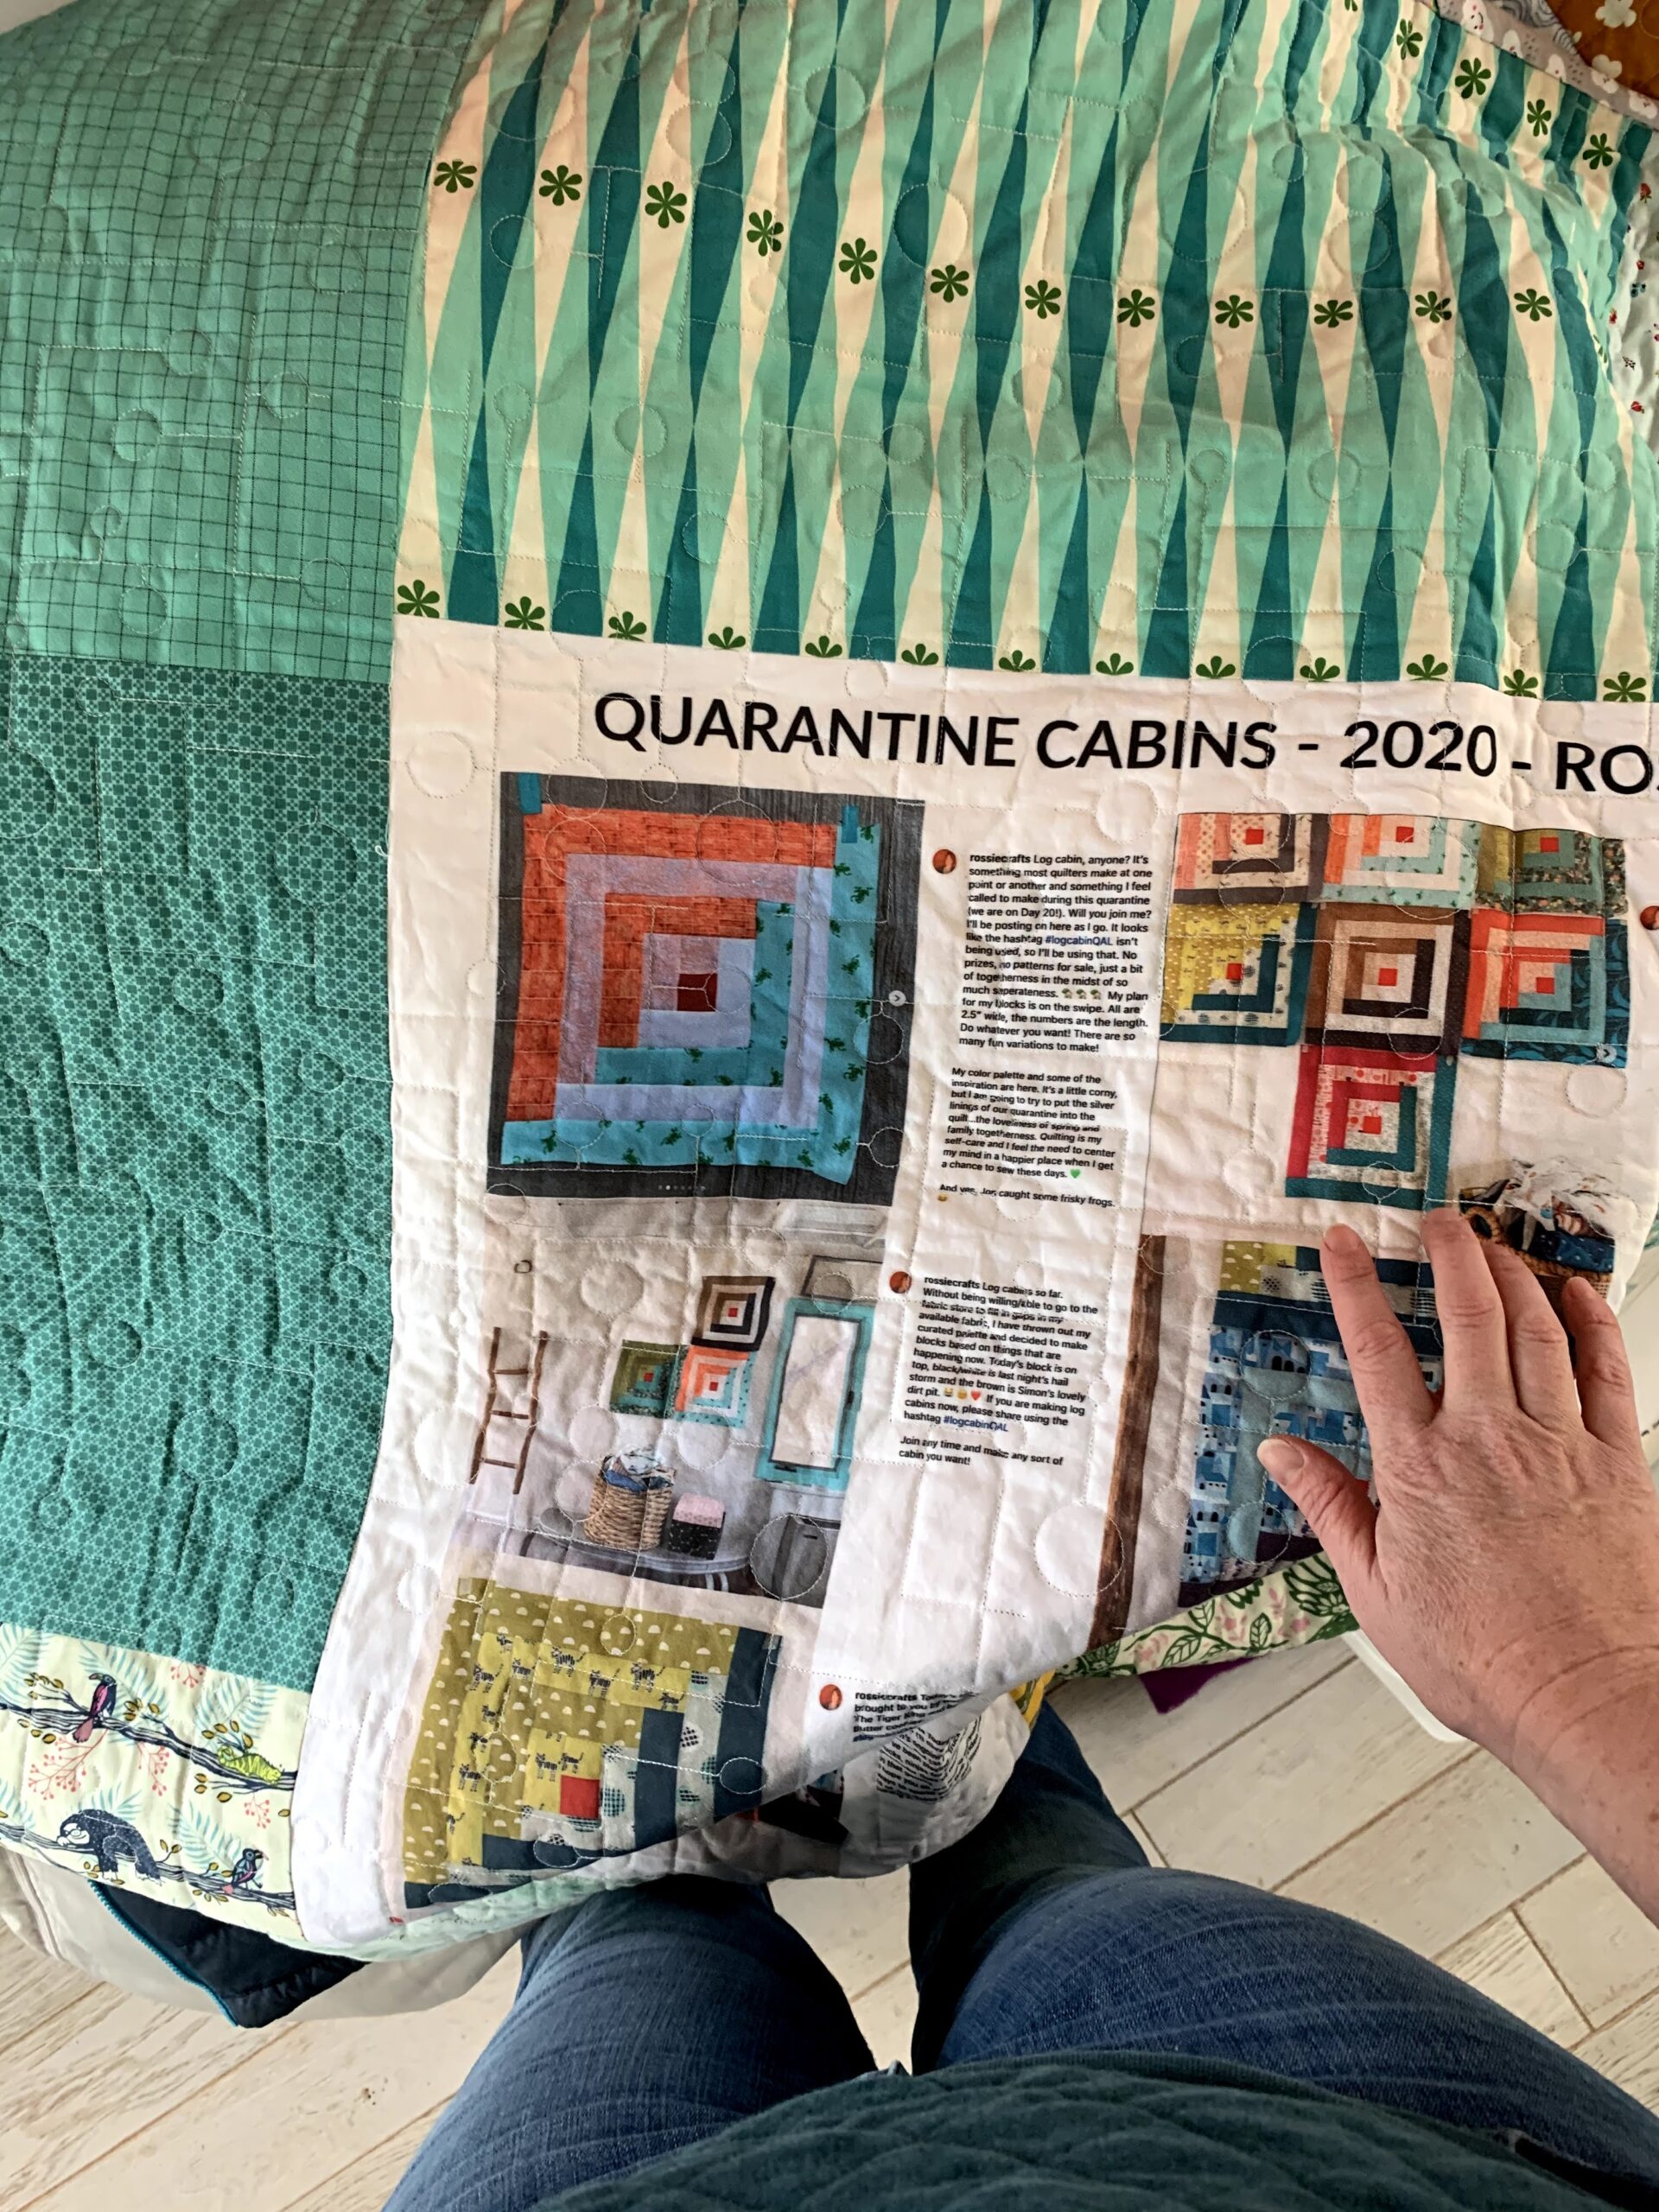
when I made my quarantine log cabin quilt, there was a LOT of information about all the choices in that quilt. Having piled so much meaning into the fabric choices in my quarantine log cabin quilt, and having written about each block as I made it, it seemed like all those words needed to be recorded on the quilt label...
How to square up huge quilt blocks.
A common step in any block-based improv quilt is squaring up the blocks. When I was making blocks for Stinky’s quilt, I squared them up with each additional “wall” that was added to the block–i.e., eight or nine times per block.
Now, for a while I was just working with my cutting mat and ruler and rotary cutter in the usual manner. I found this very frustrating. Since rotary mats work on this logic:
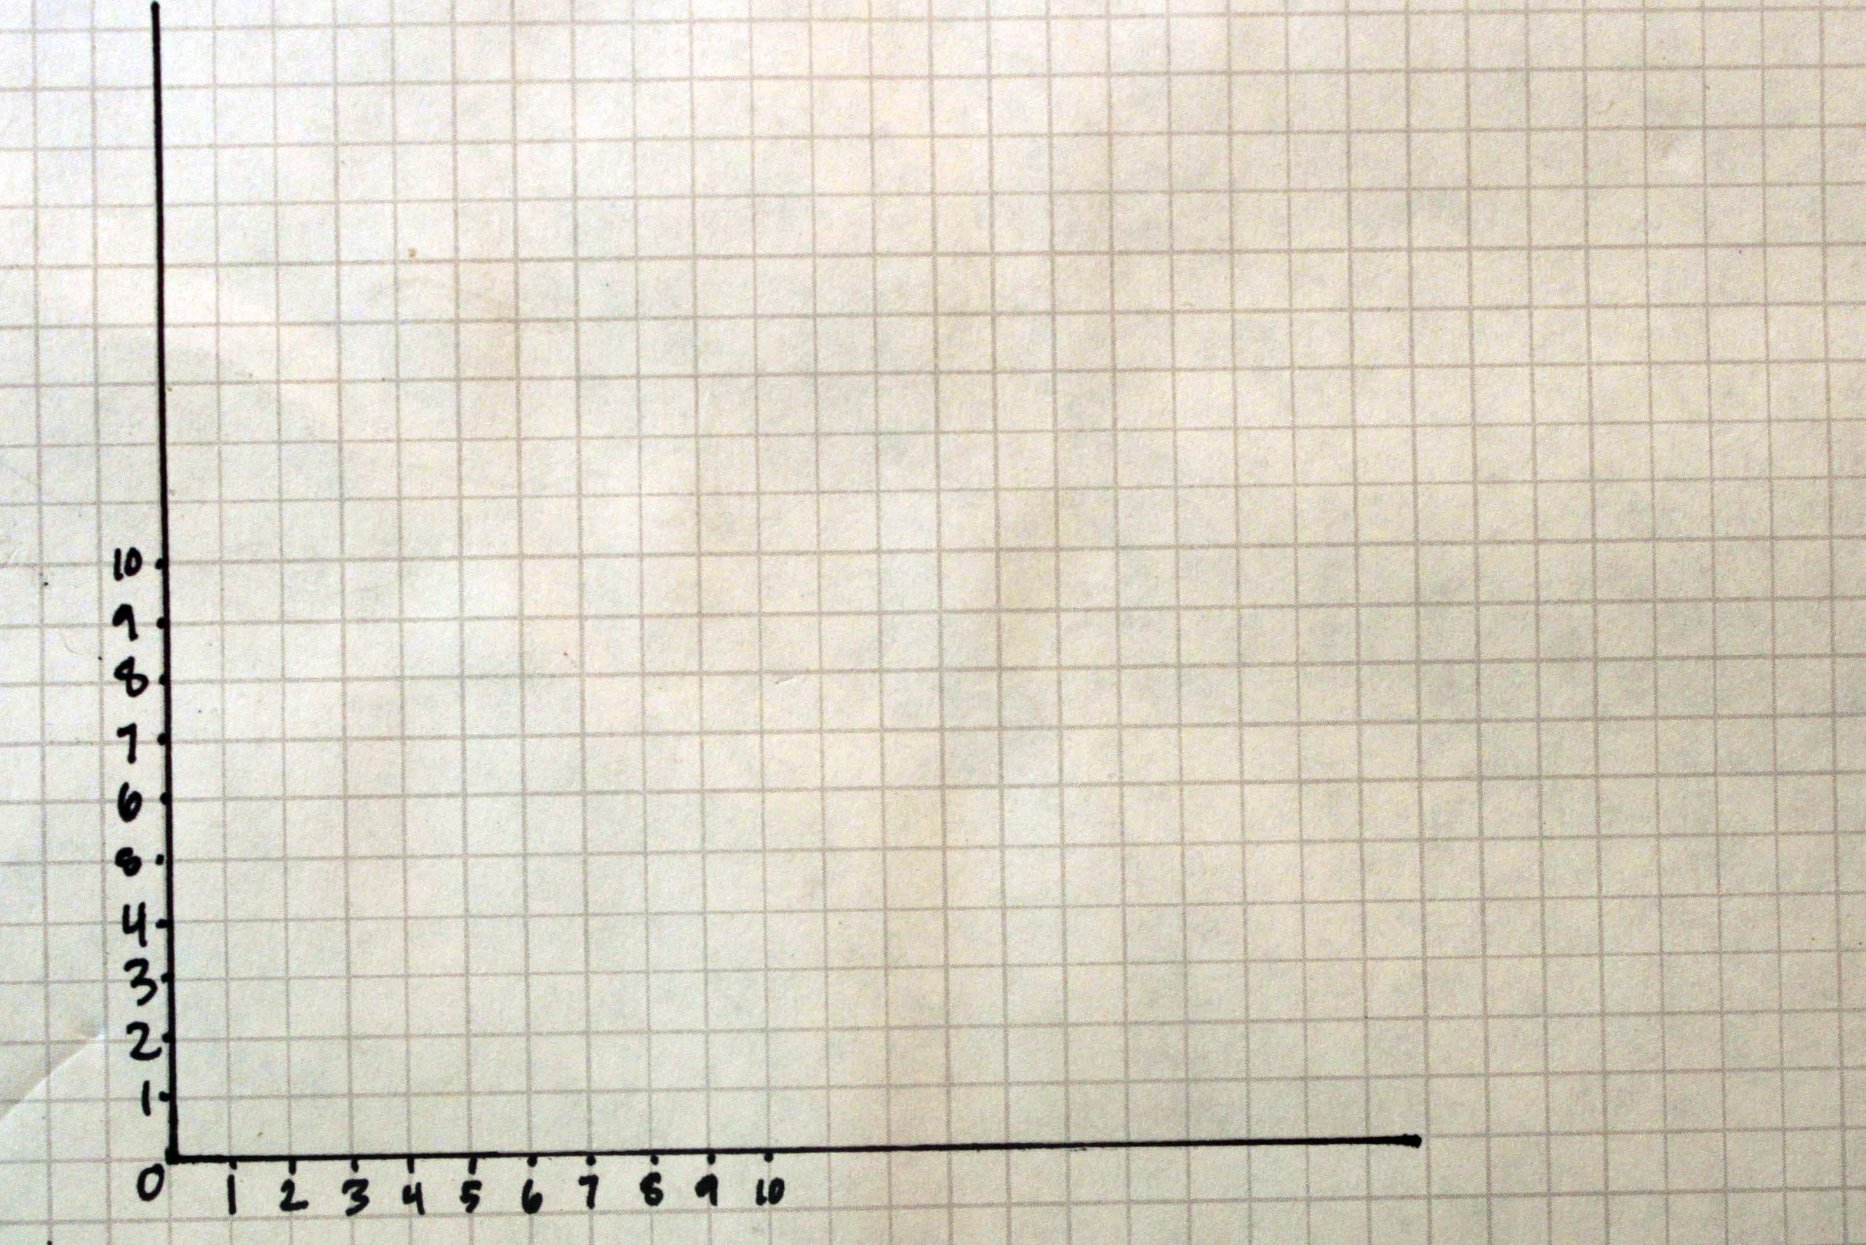
This “origin point in a corner” logic isn’t great for squaring up blocks that are “whatever” size but have a definite middle. To cut with that kind of mat, I had to find the middle of the block, measure out from the middle in four directions to figure out where to cut (because if it is 7.5″ to the north, 7.7″ to the south, 7.6″ to the west and 7.8″ to the east, I need to cut all to 7.5″). And then actually cutting involved some math again. What’s 7.5 less than 21? 13.5? 12.5? I can do advanced statistics, matrix algebra, and more, but this sort of basic arithmetic on the fly will give me the stupids.
Also, measuring twice and cutting once using this method means measuring over 500 times just to square up 9 blocks seven times each. No thank you.
I knew that I wanted a cutting mat with this logic–which might be called “origin point in the middle”
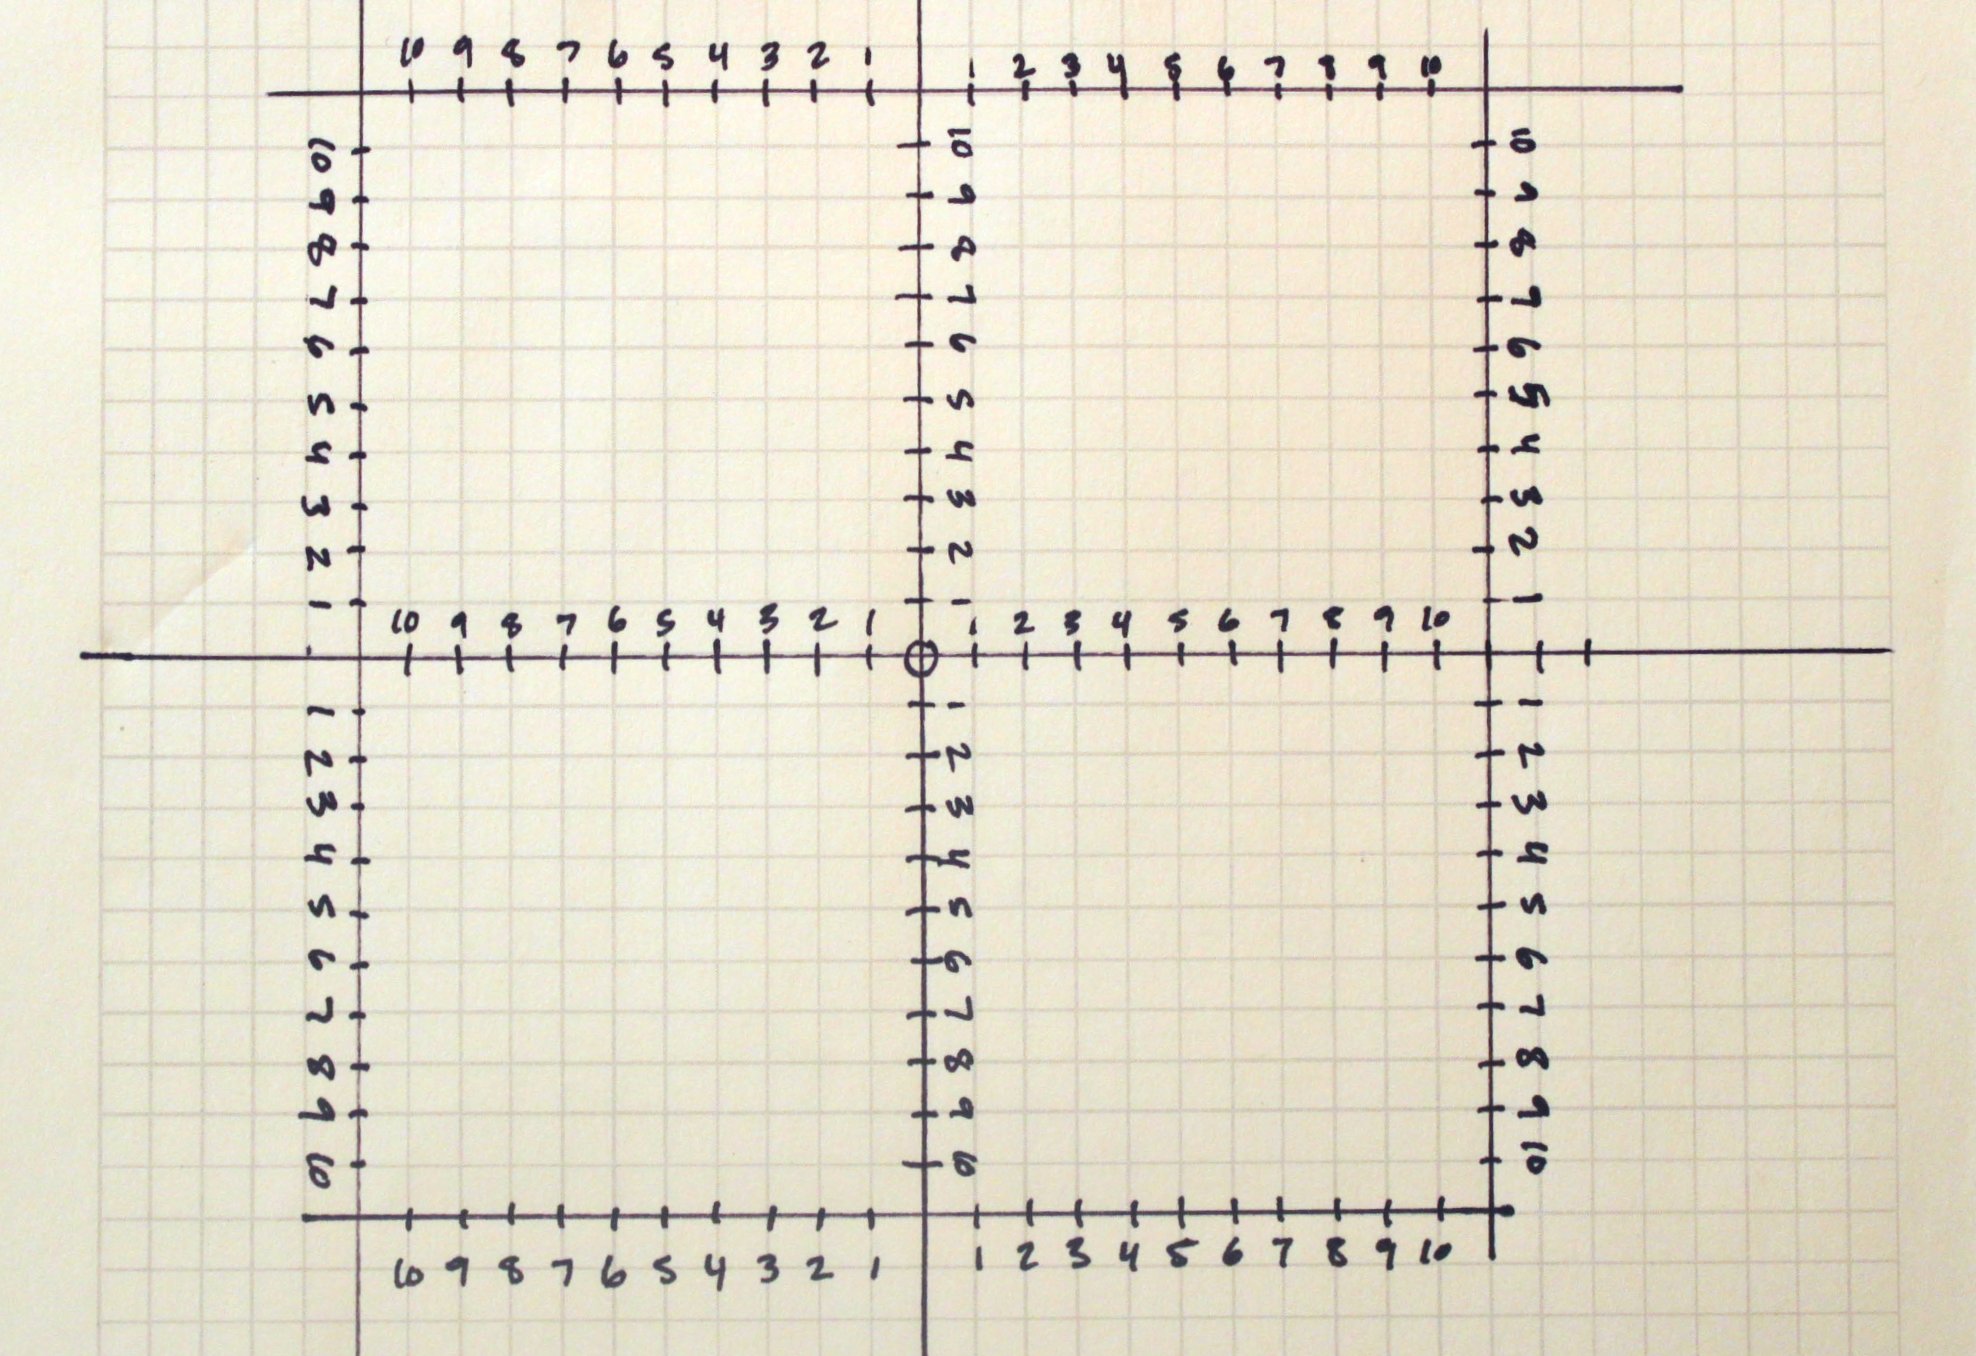
Because I couldn’t find a mat like this in the shops–and probably couldn’t afford one even if I had found it–I set my noodle to figuring out how to make one myself. Eventually, I was successful. I’ll explain how to set one up yourself below. First let me explain what I was able to do with my little set up.
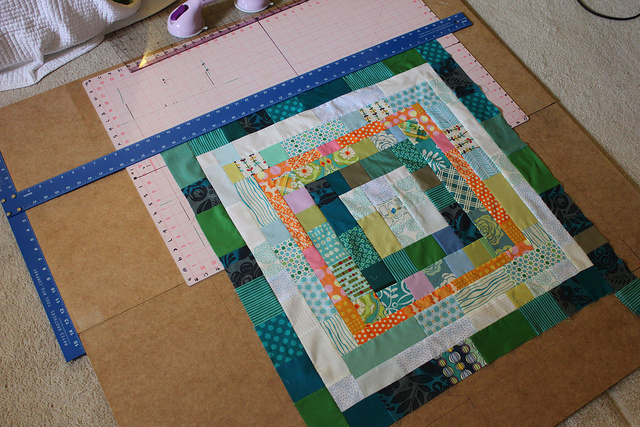
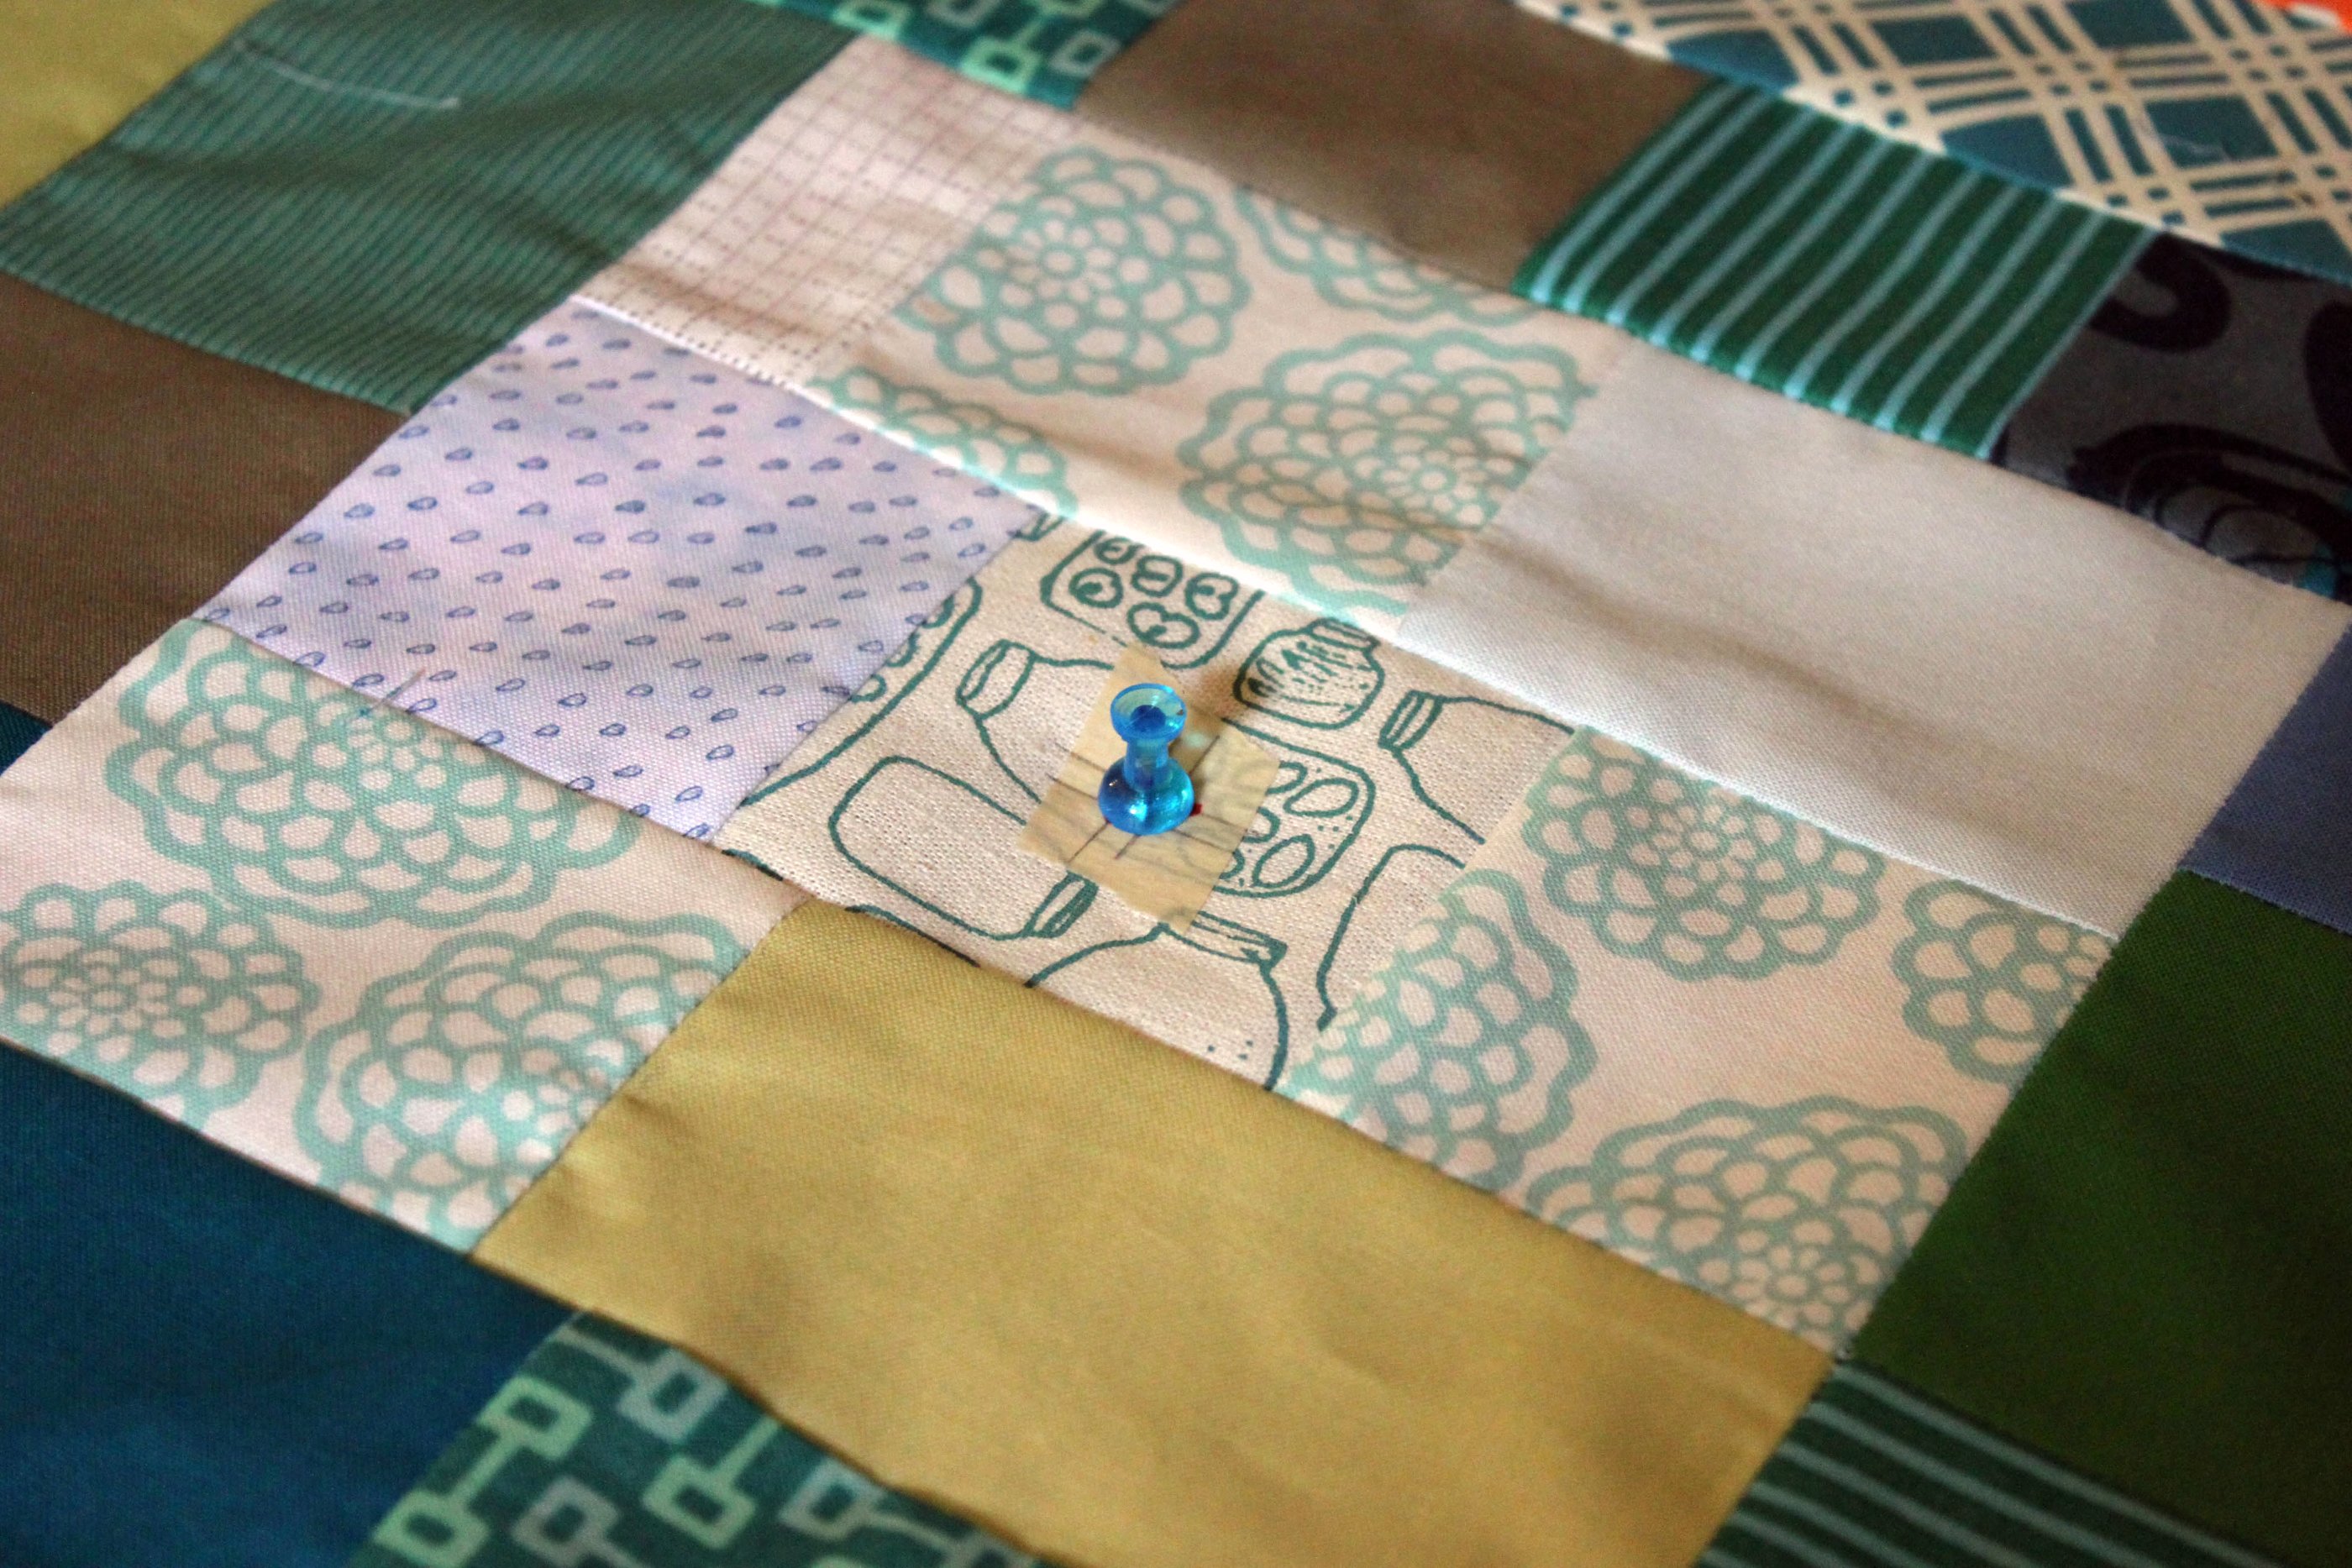
The center of each block marked with tape throughout the whole making of the quilt. When it came time to square up a block, I would push a thumb tack through a spot marked on the tape (the center of the block):
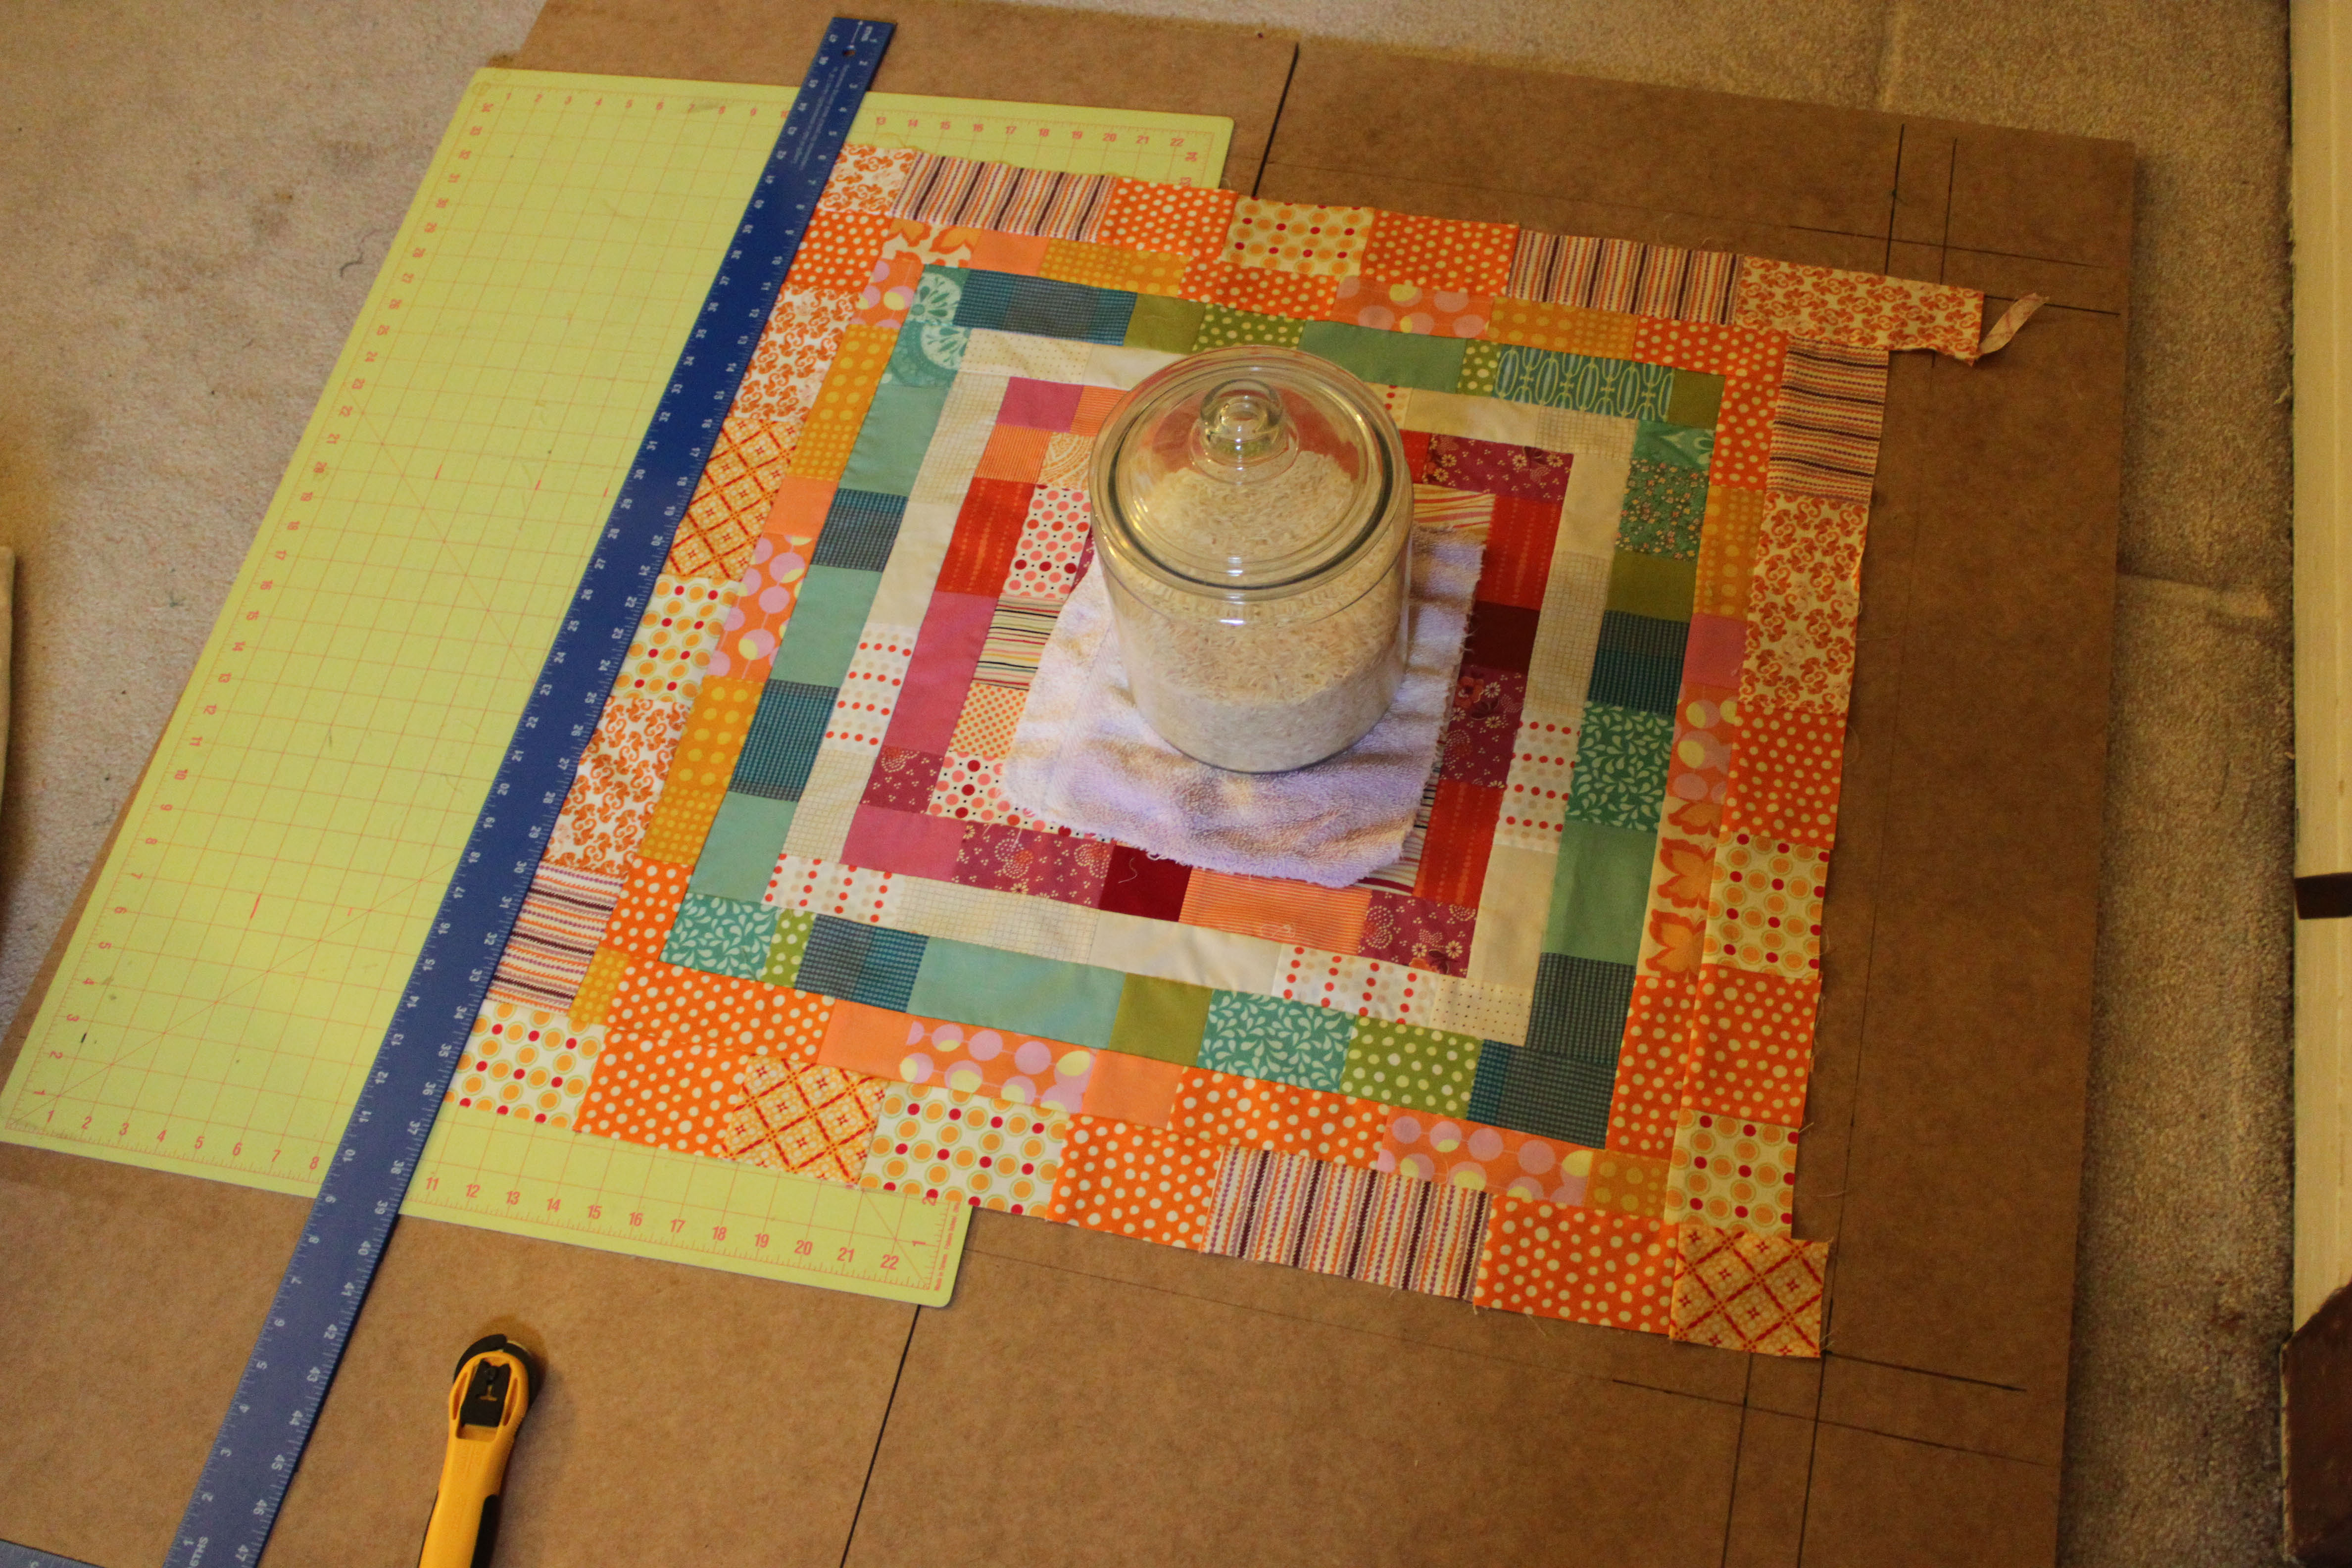
I would use the tack to put the center of the block into the center of my board, which had an “origin point in the middle” grid marked out on it. I would slide my rotary mat under one side of the block in order to save my rotary blade from wear and tear.

Using the grid marked on the board (not on the mat) I would line up a large T-Square, and then use my rotary cutter along the T-Square to make the cut.

Then I would move the mat and T-Square to another side and cut again, repeating until all 4 sides were done.
Now, this is how to make your own big squaring board. You probably only need to buy items #1 and #2, so this will run you about $22.
Materials:
1. drywall t-square (look at hardware stores, order online from Amazon.com)

2. mdf panel big enough to accommodate your largest block. I bought two of these from Home Depot to lay down next to each other to get enough surface area

**these 2′ by 4′ pieces fit in my car and are easy to store under my bed, by all means, use bigger pieces if you can, but make sure the pieces are exactly square or exactly rectangular, or you’ll have trouble with your t-square going off at angles.
**my carpet is plush and so the two boards stayed abutted without hardware. if you are going to use this on a hard floor or up on a table, you may want to consider buying hinges or straight flat brackets or whatnot to hold the pieces together.
3. drill (Optional. You only need it for two seconds to make a divot in step 2 and could get by without.)
4. Permanent marker or pencil
5. large rotary cutting mat
6. rotary cutter
Directions:
Step one: Lay your MDF panel(s) on the floor. If you have more than one panel, decide if they will stay put without you joining them with hardware. If they need hardware, join them now.
Step two: Decide on a location for your origin point and mark it.
Mine is 1″ over from the seam between the two panels (the sides) and halfway between the top and bottom. I used my drill to put a divot in the MDF a the origin point. This divot is a hole that doesn’t go the whole way through. It makes it easy to be assured that the thumb tack was stuck to the right part.
If you find, as I did, that the tack doesn’t do a good enough job holding the block in the same spot as you cut, try using the thumb tack to position the block and then immediately replace it with a dressmaker’s weight (or a big jar of rice) to hold the block in position as you go around cutting.
Step three: Mark out a grid on your MDF using the T-Square and pencil or permanent marker. I have mine marked every inch from 15″ to 35″ You can decide for yourself how many markings you need, but be sure to use good measuring practices as you do this since you will be stuck with your wobbly inaccuracies if you make them.
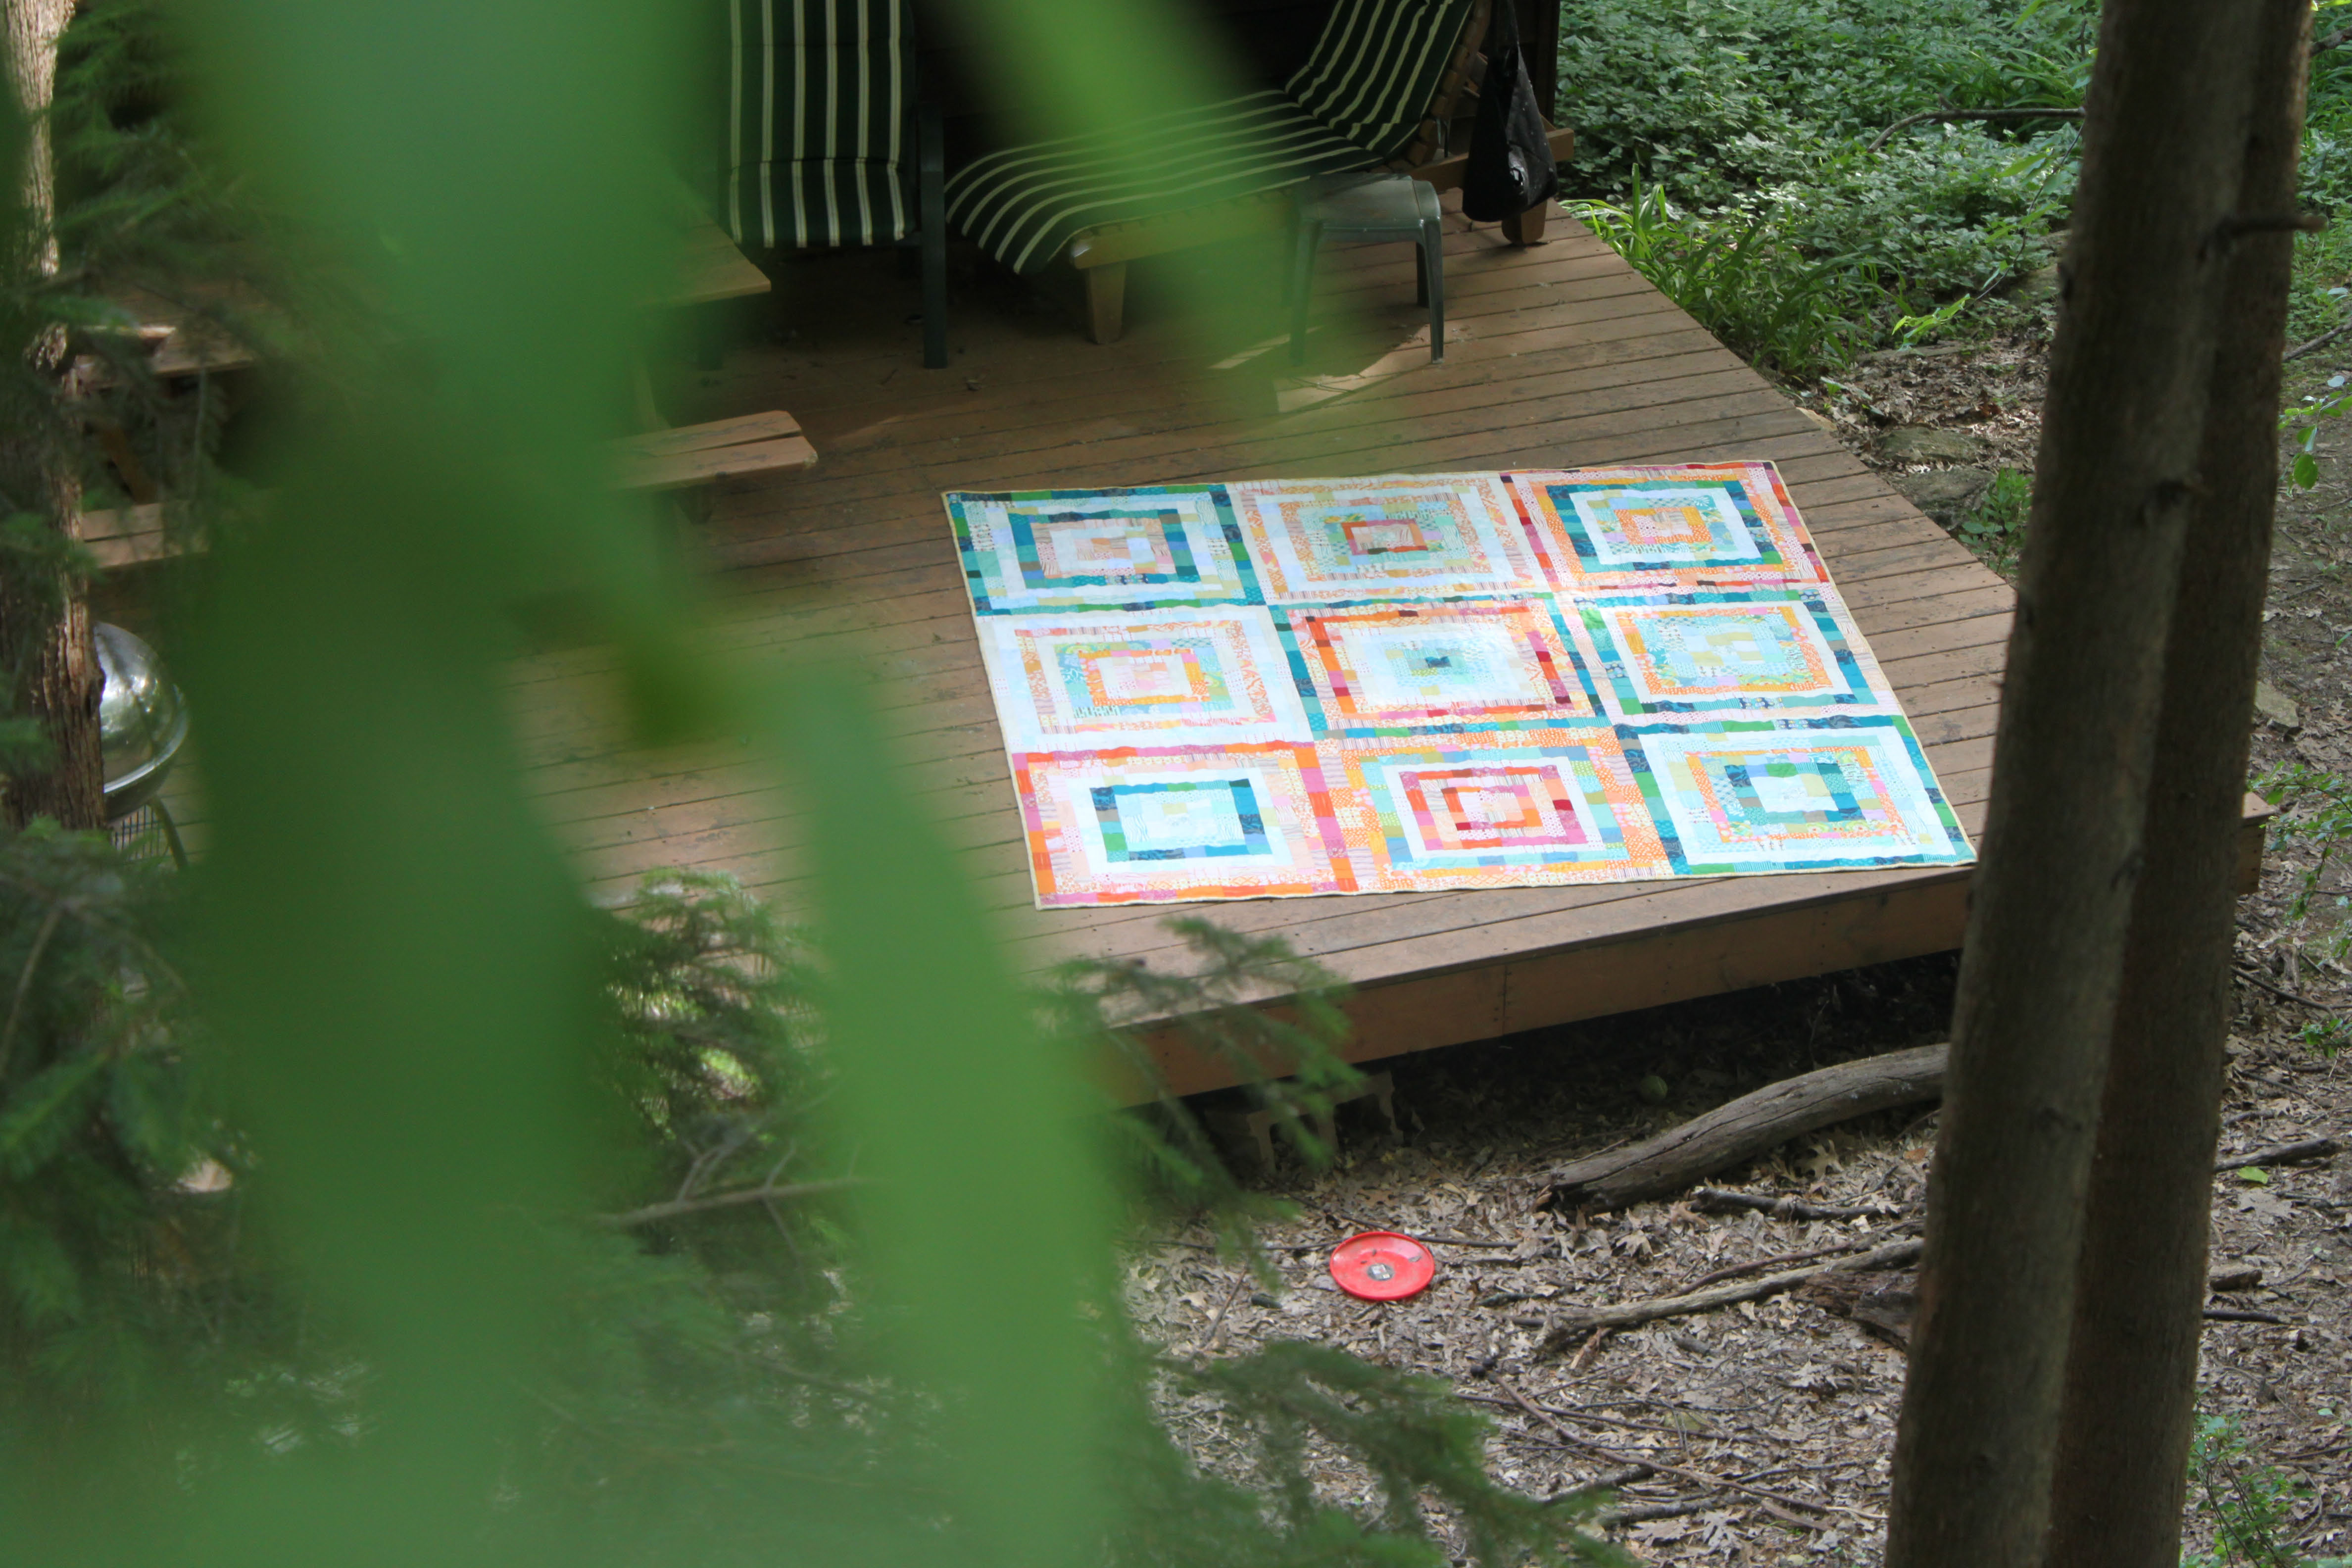
Step four: Stand back and marvel at your work!
Step five: Think of all the possibilities now that you can make huge, perfectly square blocks!
Related Posts
This Post Has 9 Comments
Comments are closed.
This is sort of awesome. Thanks so much for sharing your methods – I've struggled with the same thing many times and usually just end up eyeballing my cuts (sometimes with pretty unfortunate results).
Wow!!! This is awesome!! I've been frustrated several times trying to use the conventional mat. Should you patent this method?????
Thanks for sharing 🙂
Very helpful….something I've struggled to get done and never get it right. Thanks!
You are so awesome. I absolutely love this solution and that you figured it out. Not to mention, took the time to share it.
An elegant solution to such a vexing problem! You should look into whether is has ever been marketed/produced.
This is a great strategy for bigger blocks.
Squaring rulers let you measure from the center. You don't need a grid on the cutting mat for those. You can trim the top and right side of your block, then rotate the block and do the other two sides. But the biggest one I have only covers a twelve and a half inch square.
Terrific idea. Go quick and patent it and start selling them before anyones else those. You could do a 2 sides mat: one side the "original" measuring, the other yours!!
Oh you are AWESOME!! The repetitive measuring and simple math gives me the stupids too! LOL! And the last time i did biiig blocks – and thought everything was good and straight- got it to the finished point and the quilt looked like a dang trapezoid! Seriously. Not good! LOL! Haven't tackled any big ones since then because of that. This is such a wonderful solution!!! And can i just say THANK YOU for going the extra mile and describing it all?!! You ROCKKK!!!!
I will try this, thanks!