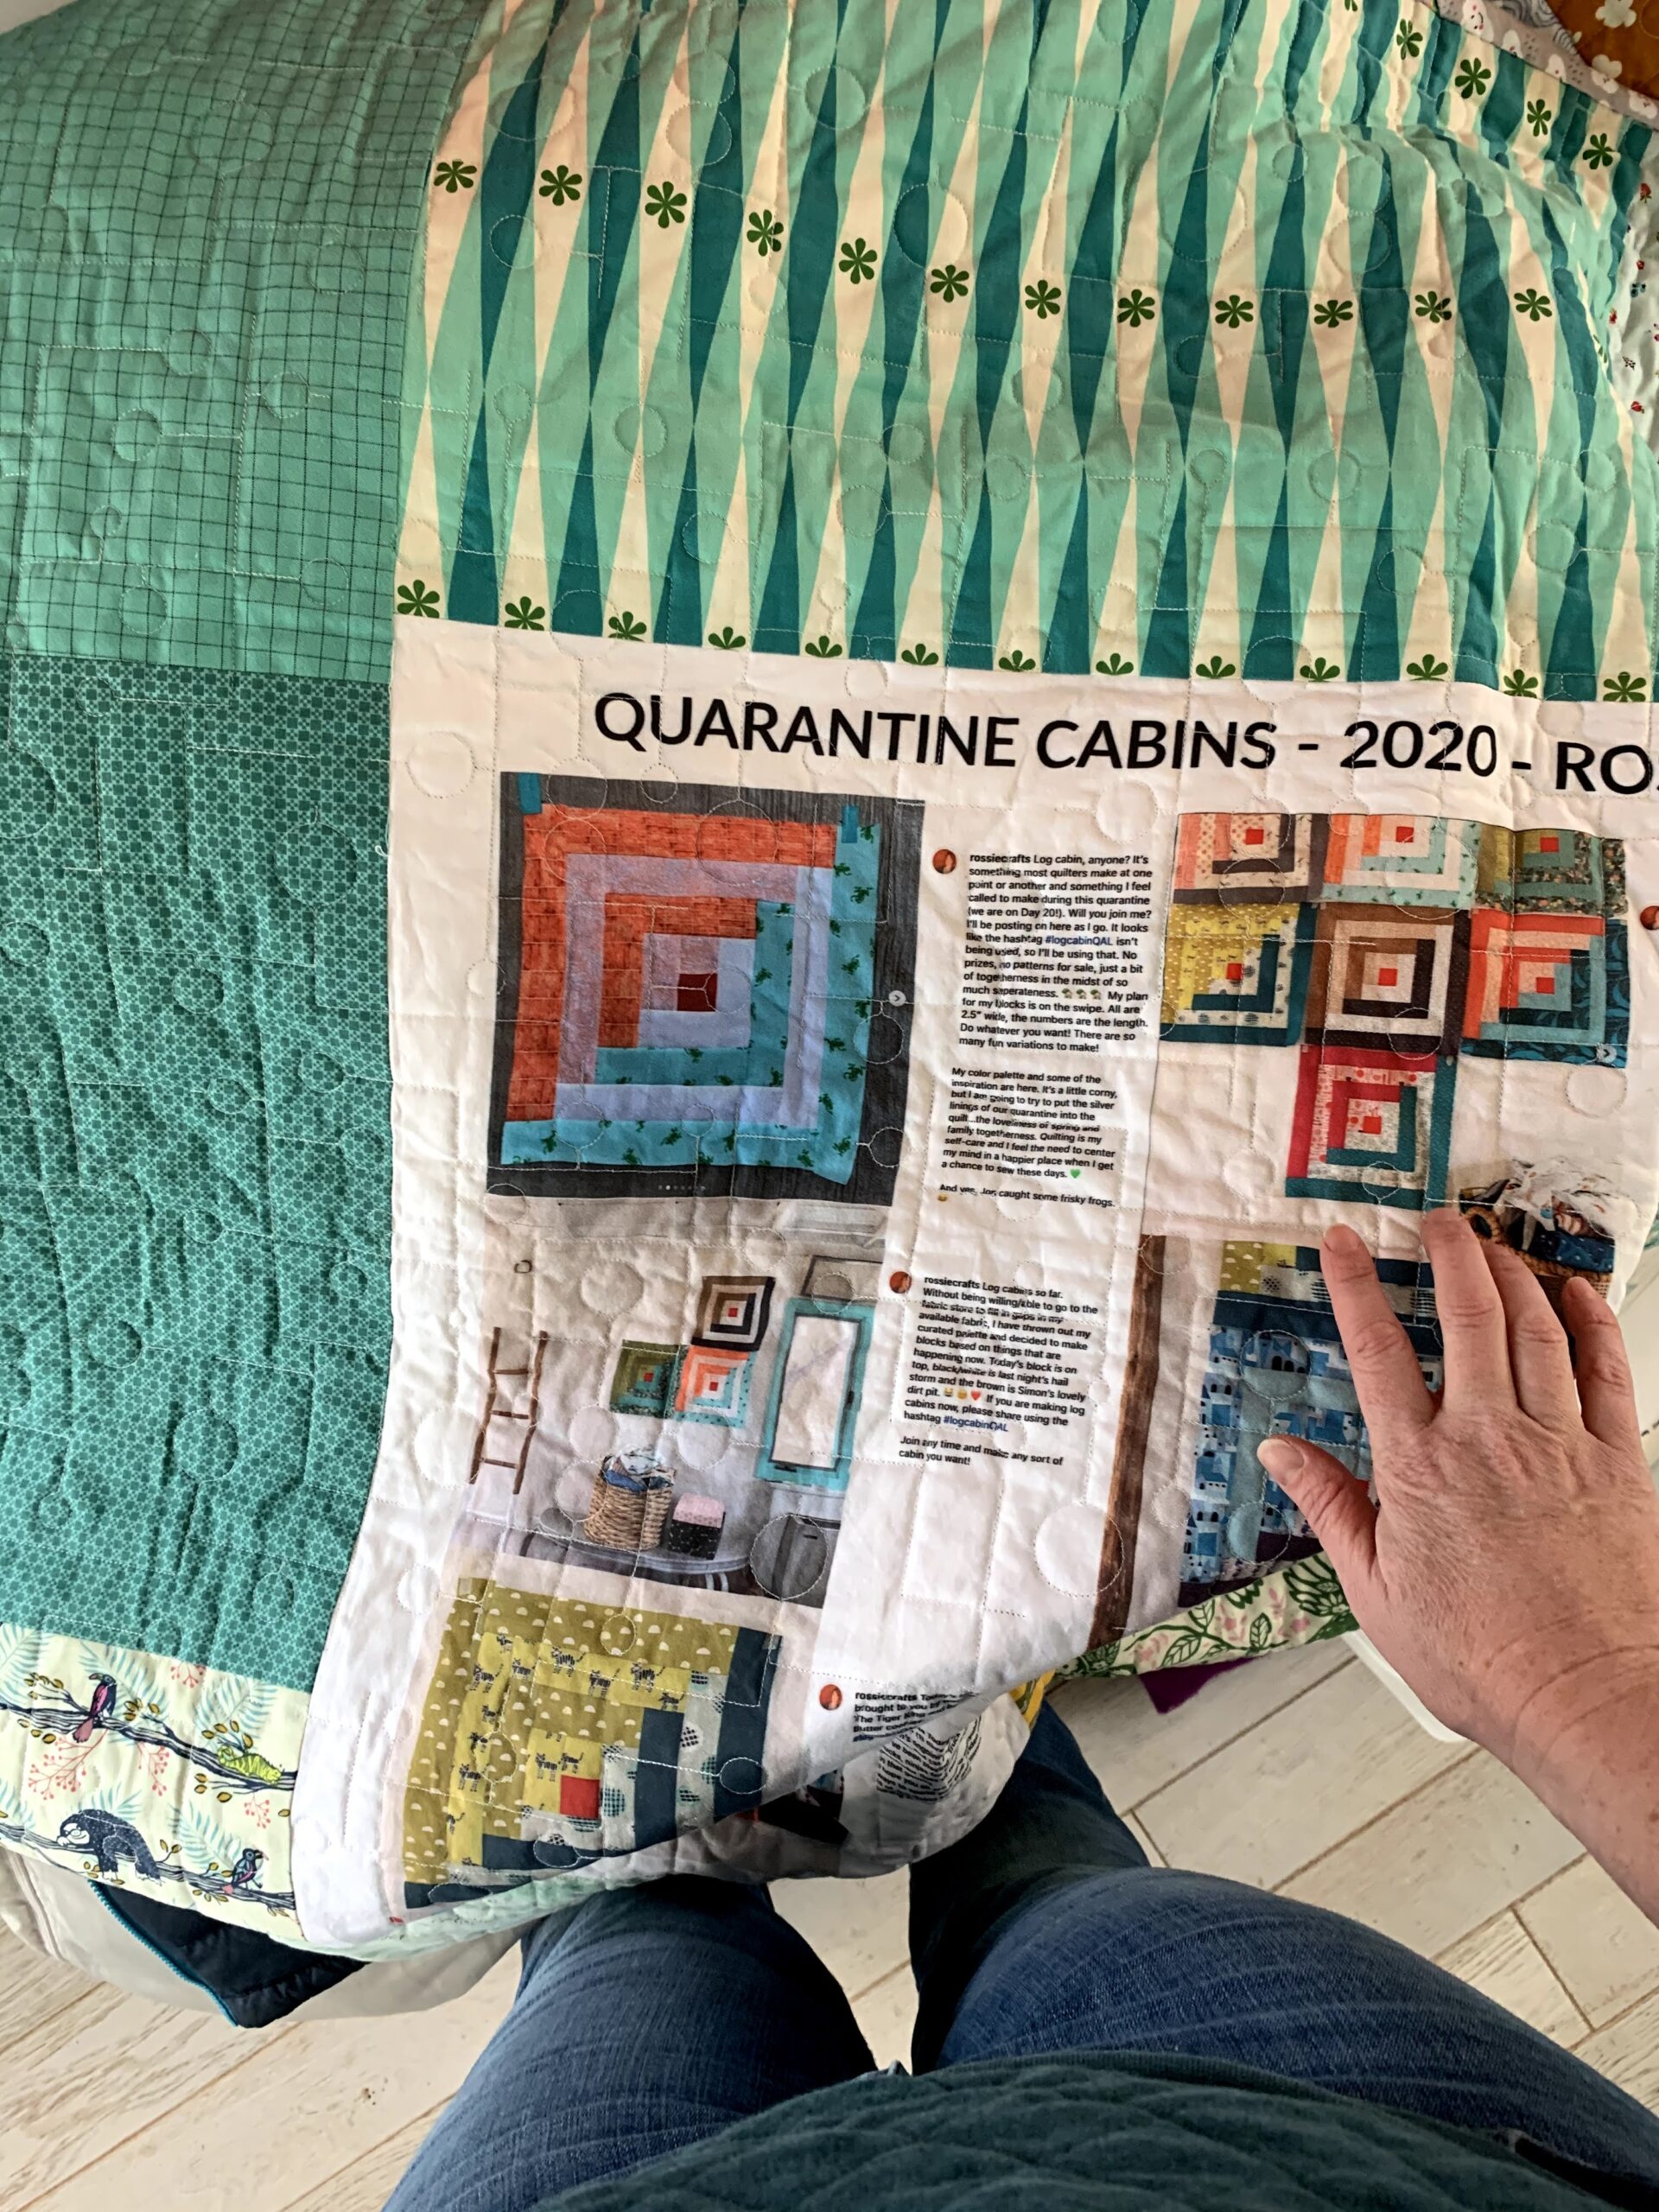
when I made my quarantine log cabin quilt, there was a LOT of information about all the choices in that quilt. Having piled so much meaning into the fabric choices in my quarantine log cabin quilt, and having written about each block as I made it, it seemed like all those words needed to be recorded on the quilt label...
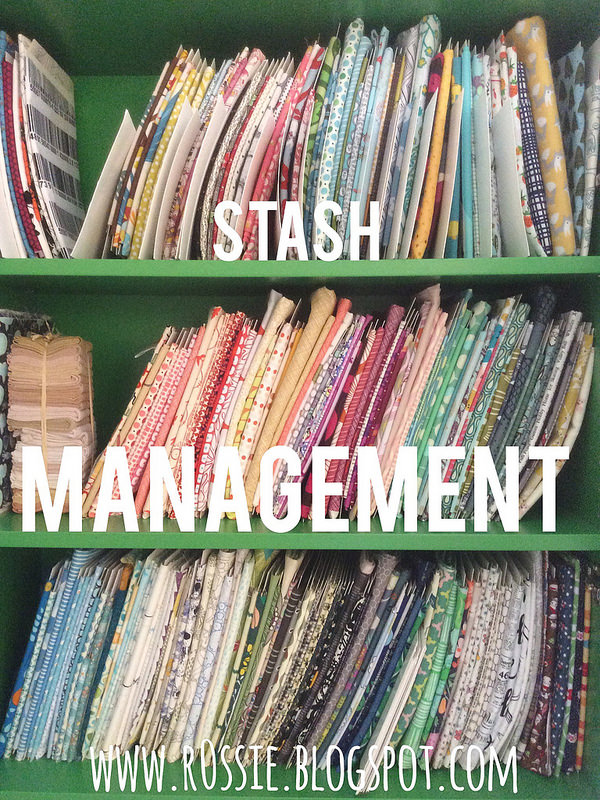
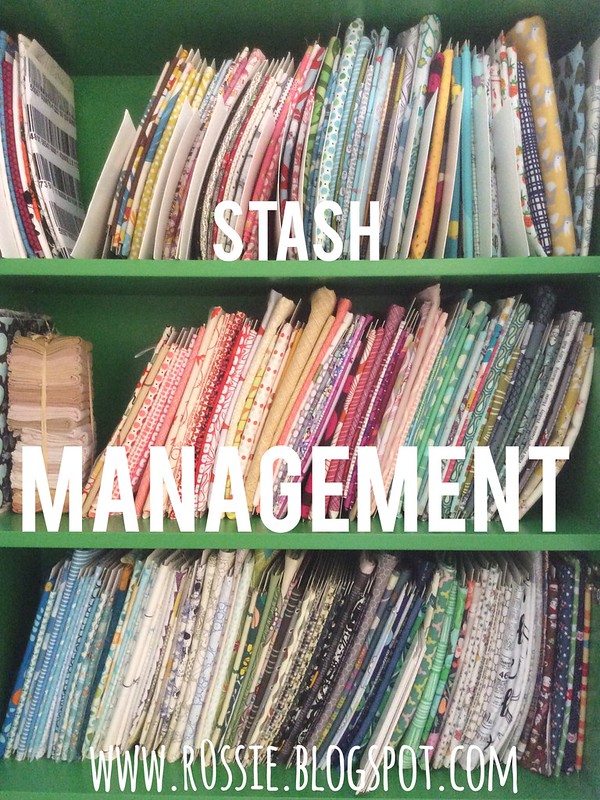
Stash Management
 Sometimes I really like Mondays. The fresh start of it all. I like being able to put everything in its place, think through what I need to be accomplished that week, and then begin. Since I’m quilting full time this summer, I get to have my Mondays in the studio and I begin by cleaning up.
 This morning’s tidying mostly consisted of putting away fabric–both new purchases and the fabric I had strewn about the room while working last week.
As I went around putting each bit of fabric where it goes, I thought about how enjoyable it is to have a space where everything has a place and there’s a system for maintaining order. And then I thought maybe I’d share the specifics of my stash management with you, because perhaps some of my ideas will be helpful and if nothing else, everybody enjoys photos of fabric, right?
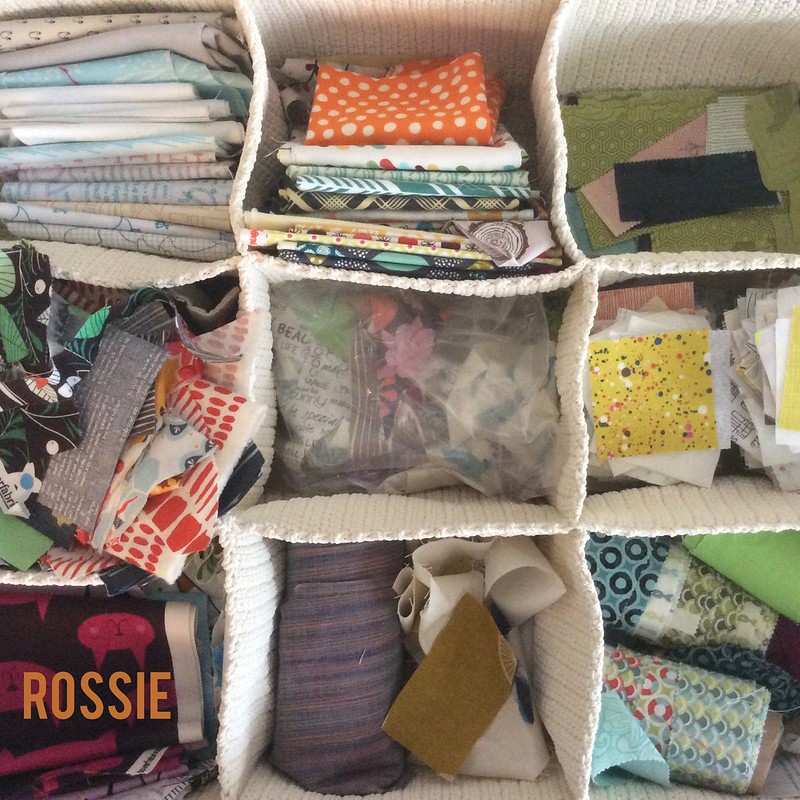
The picture to the left is of the inside of my green Billy Bookcase from Ikea. This is where all of my cut of a half-yard or larger end up, and some of my smaller cuts as well.

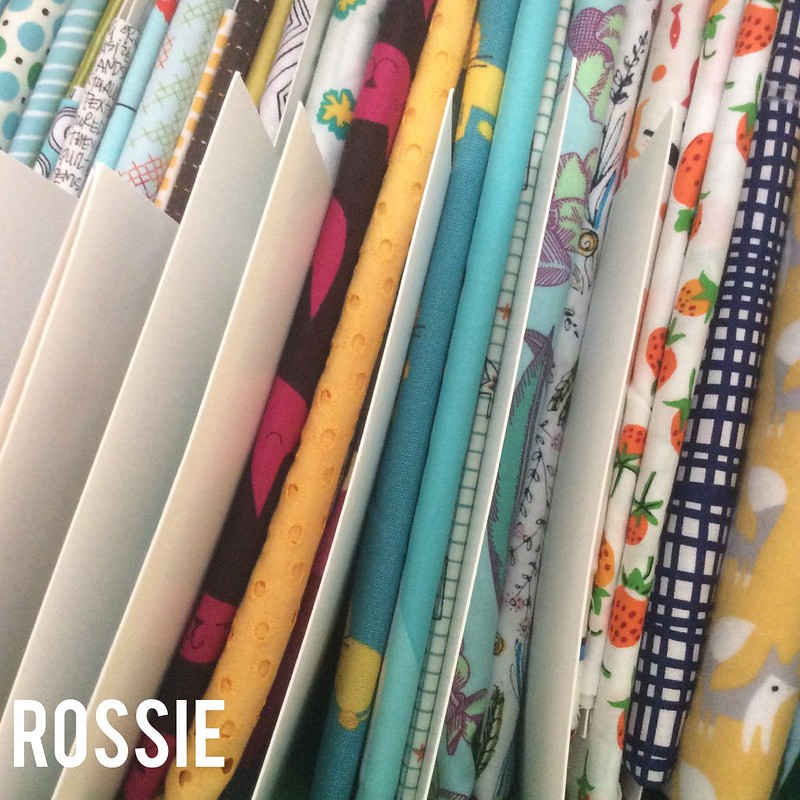
 The fabric on these shelves is wrapped around comic book boards. This is a method that I’ve seen a lot of bloggers and instagrammers using and talking about–check out this tutorial if you want to know more. When I blogged about my fabric back in 2010, I was not using boards yet, I was folding the fabric to the same width and then stacking it on open bookshelves. Eventually, this system stopped working because smaller cuts were getting lost and going through my stash looking for something often resulted in the need to refold a lot of fabric. By putting the fabric on the boards, I am able to keep everything visible and tidy even when it gets shuffled and reshuffled!
While most of the shelves are arranged by color, the top shelf (pictured below) is a little bit different. The fabric up there is in different little segments, divided by extra comic book boards. These are little color stories or pairings of fabrics that I think will be together in a quilt some day. These fabrics tend to be my favorites, so I’ve been known to get a bit Smeagolly with them…
My precious.
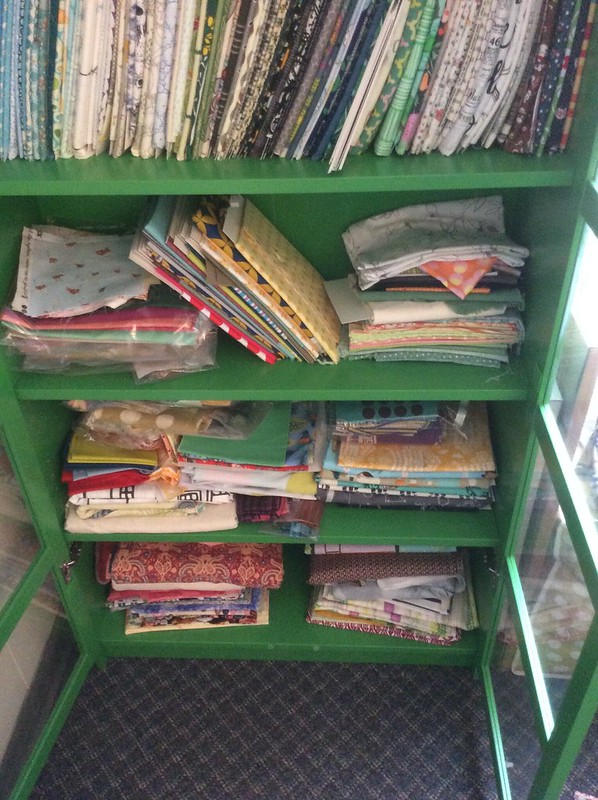 The bottom shelves are less crammed with fabric, and its mostly piles. Each of these piles is different. One stack is large cuts that I bought with garment sewing or bag sewing in mind. Another stack is fat quarters of solids. There are a few groups of fabrics that have different substrates–double gauze or linen blend. Most of it is fabric that I’m just not sure I’ll ever use and don’t want to have to look at all the time; I keep it to use for test blocks or muslins or a hidden lining, but I don’t want it mixed in with the more attractive parts of my stash.
As much as I love this shelf and the comic book boards, I find that handling this part of my stash is the easy part. What has been harder is handling fat quarters and fat eighths and large scraps, so I think what I’ve worked out for them is really what has made the difference in keeping my stash tidy and my studio in order.
Scrap and small cut storage happens along the top of this shelf at the back of my room (right by the green shelves.)
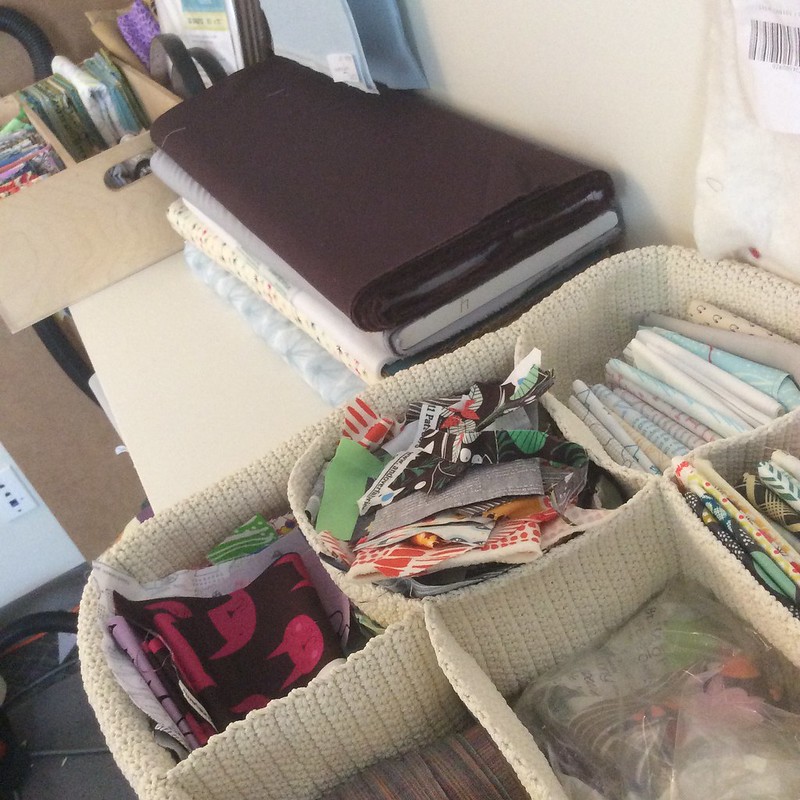
At the far end, there’s a CD organizer and I’ve got fat quarters and other small cuts stacked up in there. Some are arranged in a little grouping that I might make a quilt from, but most are just in there in no particular order, ready to be used at a moment’s notice. These are all about the same height when folded so that they are all visible.
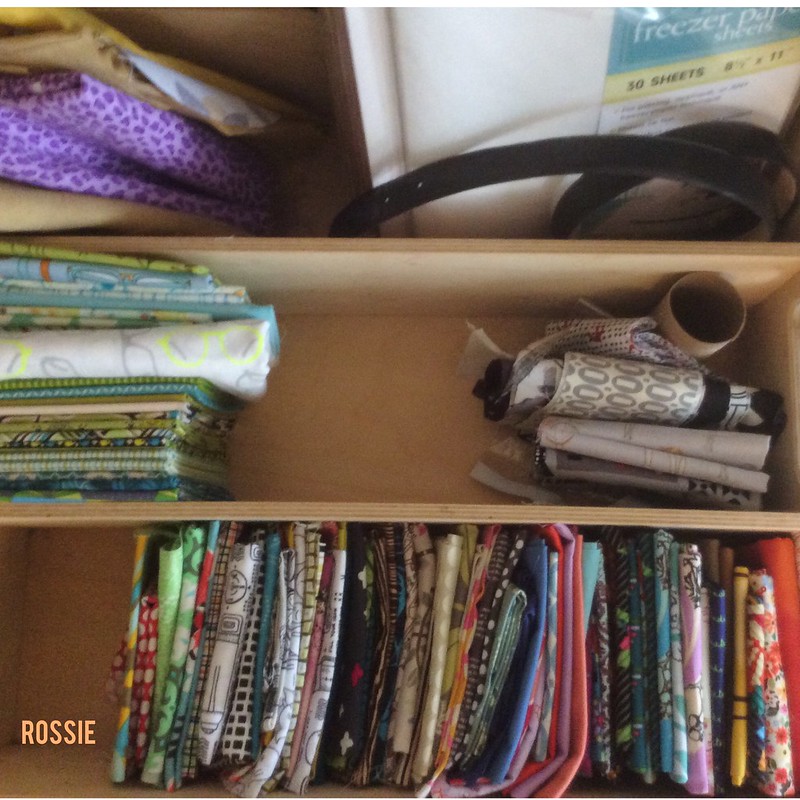
In the next organizer, which I believe was originally intended to organize a sock or underwear drawer, I have my smallest scraps as well as some fat eighths and leftover bits of jelly rolls wound around toilet paper rolls. The fat eighths end up in here if they are so small they’re likely to disappear in the other organizer. You’ll notice that I don’t have too many scraps here.
That’s because I don’t keep tiny scraps of very many fabrics around. For fabrics that I truly love, I will keep tiny bits, but for the most part, I know that I’m not a true scrap quilter, so I give away my scraps to friends that will actually use them (and not just feel burdened by them like I would.)
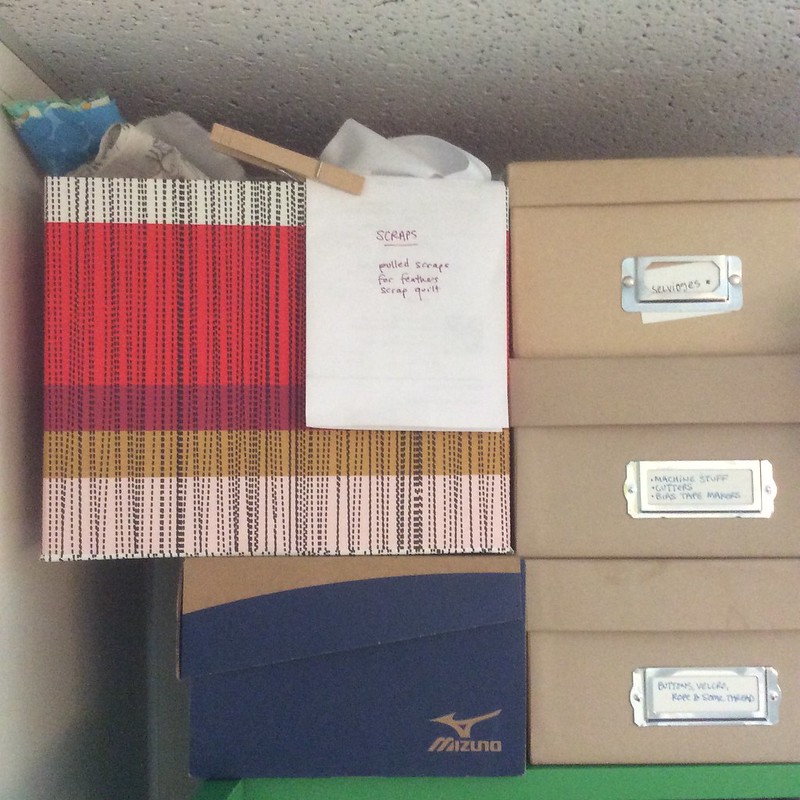
I collect scraps while cutting and sewing into two small baskets (one next to my machine and the other under the cutting table). When these fill up, I sort the contents into two piles–scraps I love and want to keep and scraps I think I should give away. I put the scraps to give away in a medium sized box that’s up on the green shelves, and once or twice a year I go through it again and give away and contents I know I’m done with; the waiting period is nice because sometimes I change my mind and want a fabric back that I had previously thought I was done with. Or I might do the unexpected and make a scrap quilt and need more scraps!
So that’s the scoop! Let me know if you have any questions!
Oh, and one last photo…orphan blocks on the walls…
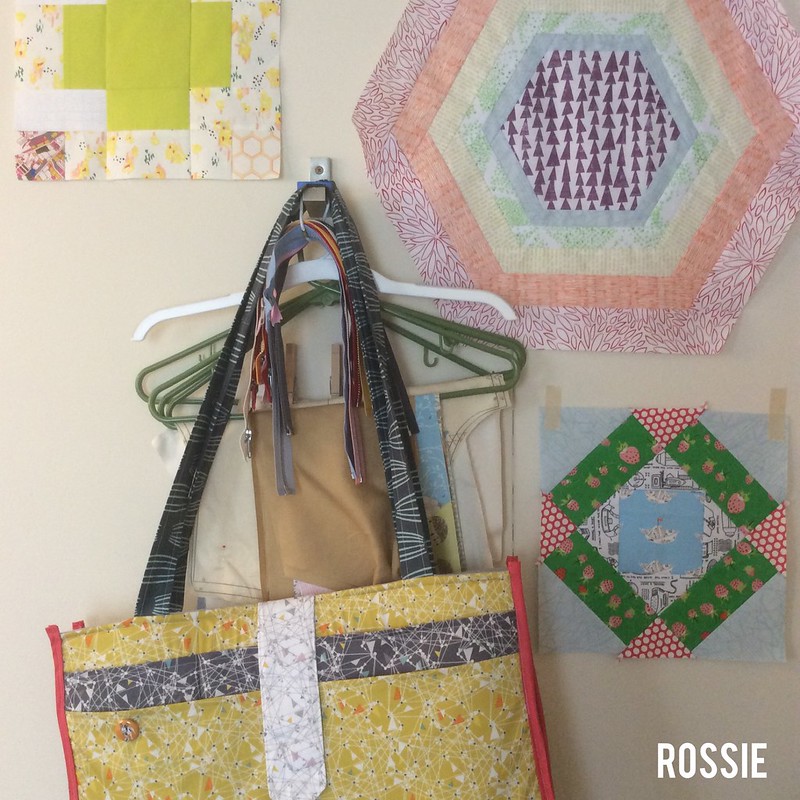
Oh, and one last photo…orphan blocks on the walls…
Related posts:
shows more options for fabric storage.
Related Posts
This Post Has 3 Comments
Comments are closed.
I hadn't thought of the TP roll idea. I'll have to give that a try. I have started getting some things on comic book boards, which has helped me find certain colors to use for bees and round robins. I admit, I'm a bit Smeagolly about my Briar Rose and Architextures too! Thanks for sharing.
You've inspired me to try and sort out my scraps more- anything smaller than a FQ is all mixed together by colour but I like your system of size better, and I could probably destash a whole bunch too.
I use boards too, but I cut boards in 4 different sizes and have 1+ yard, 1/2 – 1 yard, fat quarter and fat eighth sections. My local picture framer has a box of odd bits of mount board that are too small for them to use that anyone can take for free; I just cut these to my preferred sizes with a craft knife. I have to admit that it takes a while to organise like this but I love how beautiful and practical it is once its done!