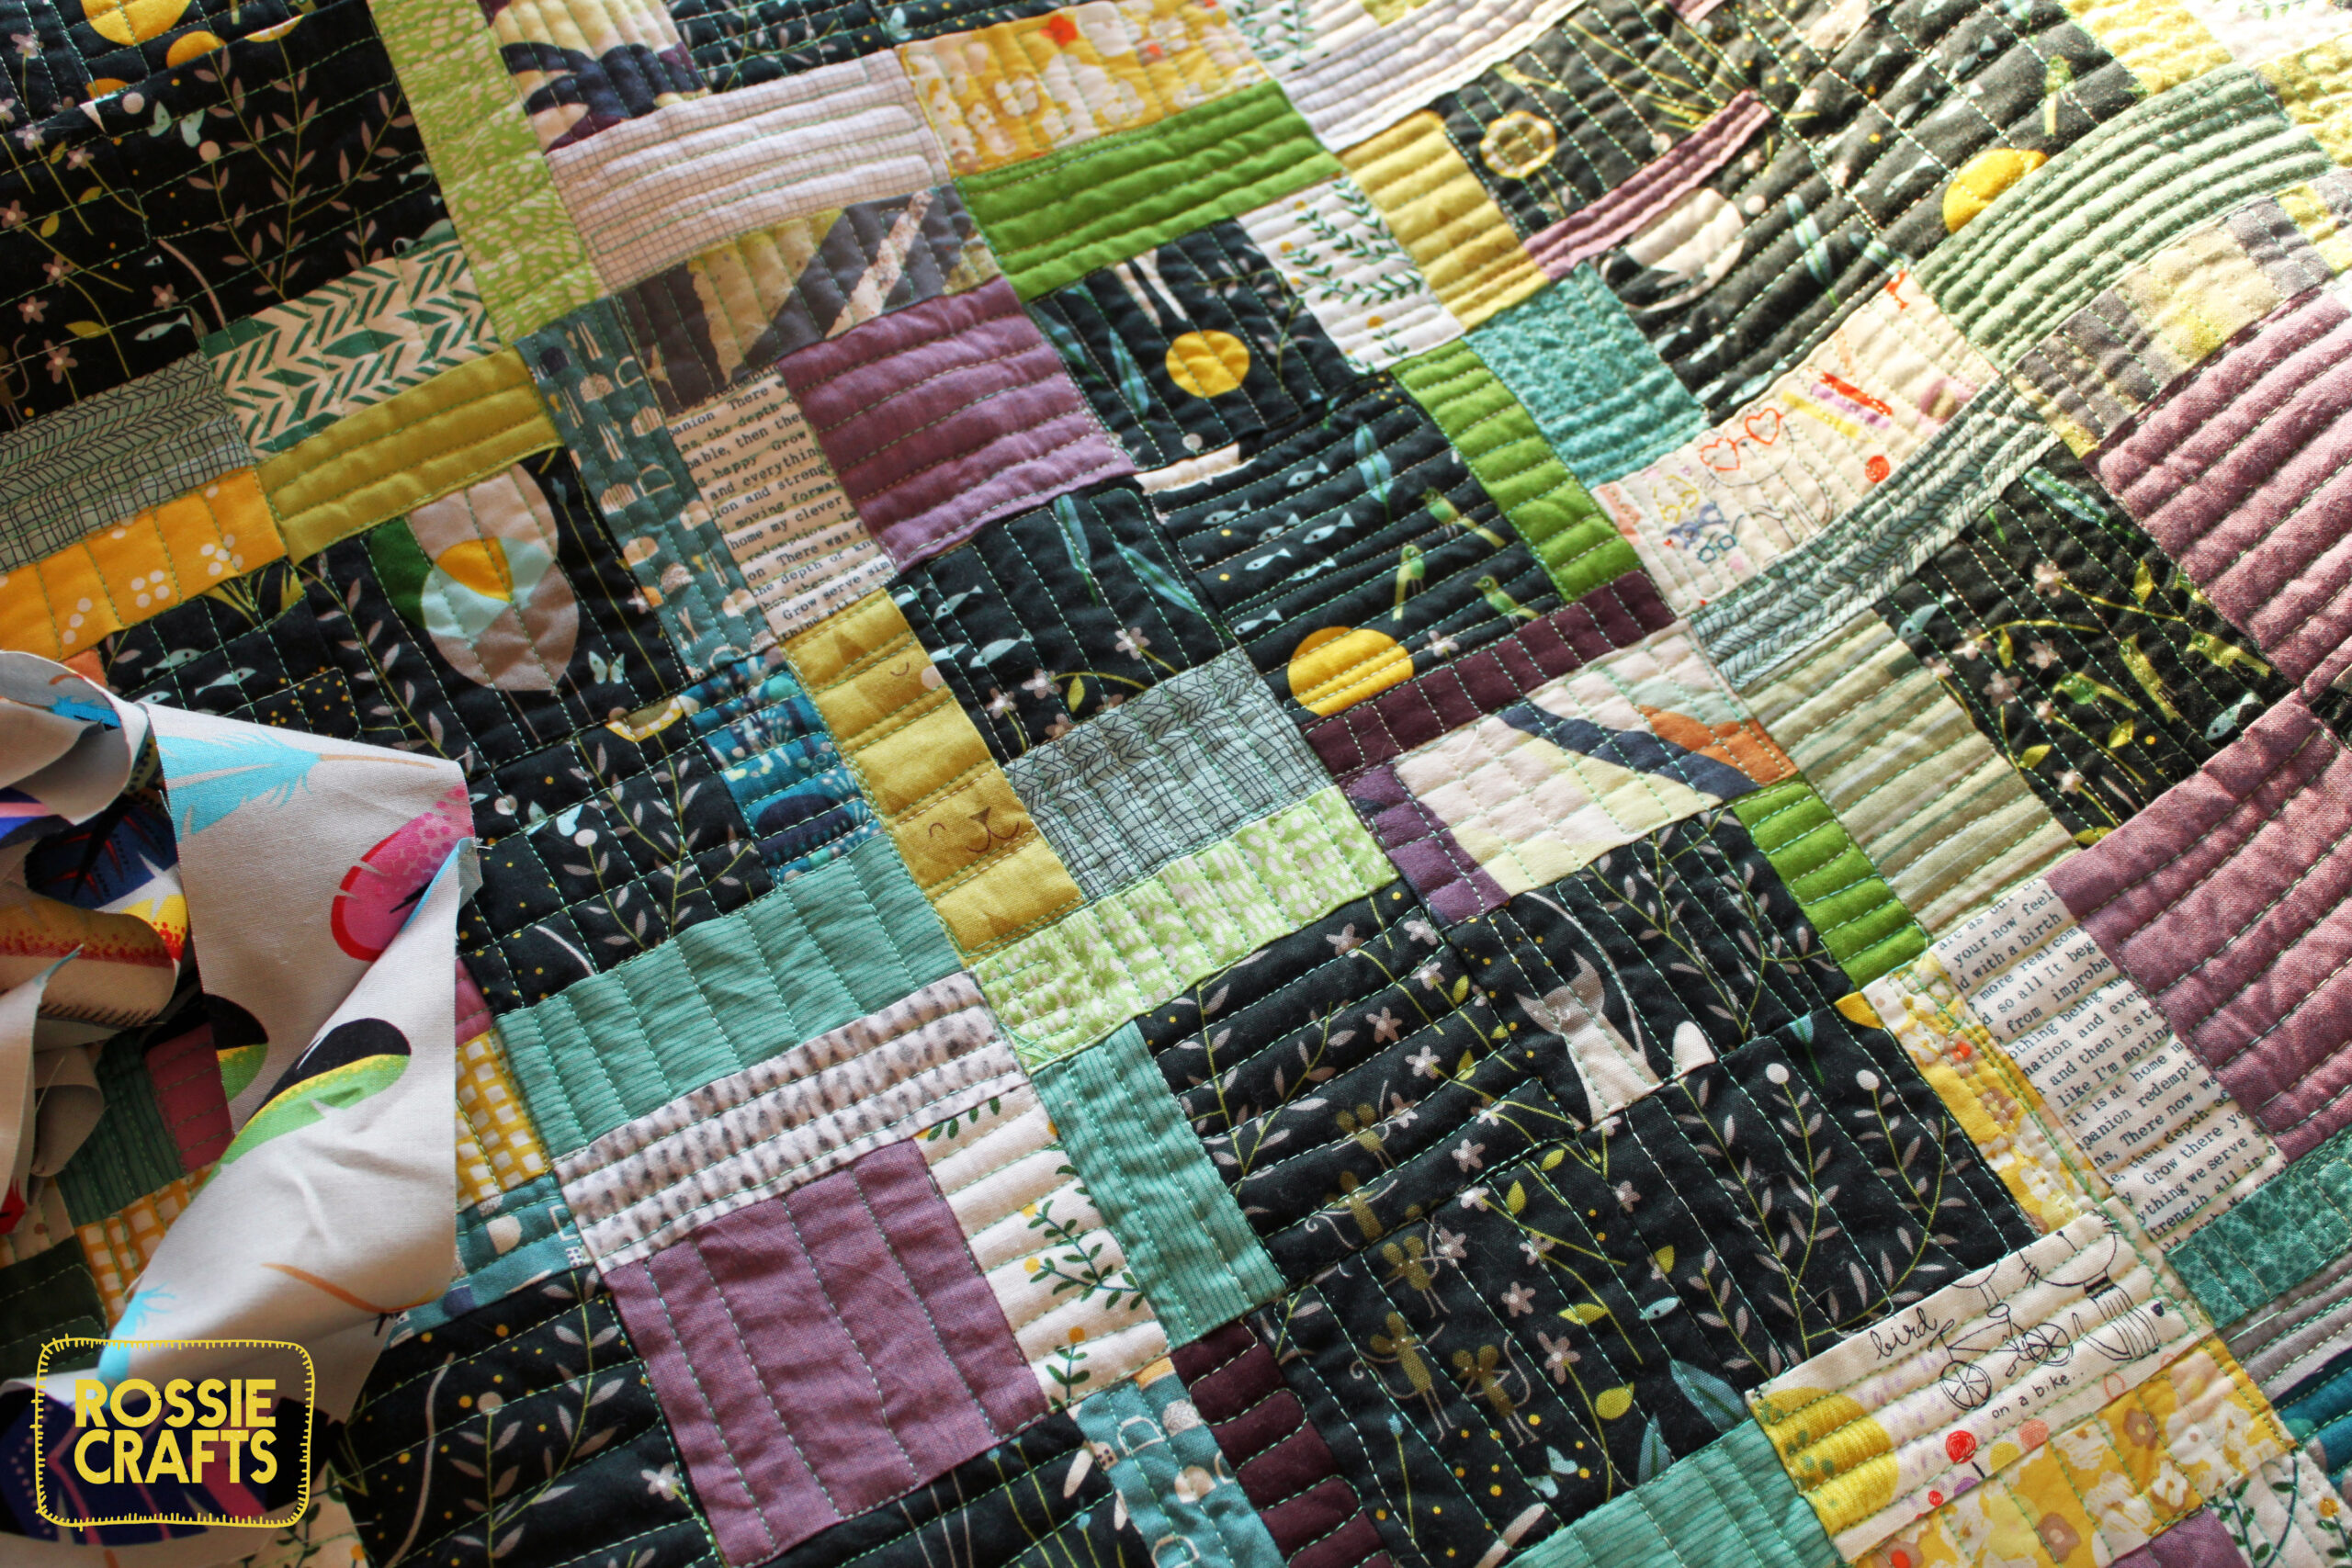
learning more about free-motion quilting
I’ve said it before and I’ll say it again: quilting is my growth area.
I’m not horrible, but I’m not awesome.
With a new machine in my studio, one that a lot of people buy specifically for its free-motion quilting potential, I figured it was a good time to start again with learning to free motion quilt. Now, I’m the sort of person that will quite happily submerge myself into someone else’s logic and method for a good long while. And then move on to a new person’s way of doing/thinking. And after I’ve hopped around for a bit, will finally mash them together into my unique, preferred technique. This time I’ve gone back to basics with Leah Day as my guide. Craftsy has a few free-motion quilting instructors, I chose Leah’s class because I love the lessons and designs on her blog). I’m taking the “Free Motion Quilting a Sampler” class. There are 13 lessons and I’ve completed 4 so far: (1) Introduction; (2) Basting; (3) Basics & Supplies; (4) Stitching in the Ditch.
A few of my take-away from her Craftsy class so far:
1. Starching your quilt top: Day teaches her students her technique for starching a quilt top as a whole just before basting it. This really sets a quilter up for success.
2. sidenote not from Day’s class: Starching your quilt back: My friend Lynn recently mentioned that she does this and I was super-excited by this obvious and awesome idea. It makes it so much easier to maneuver that quilt around under a domestic machine if it is a bit stiff.
3. Which starch: Day uses Niagara starch in the hand-pump bottle. My friend Lynn mixes up starch that she buys at the grocery store. I like to use Best Press (unscented) when piecing, but may start to use real starch at the point I’m ready to quilt. The reason I prefer Best Press is that it doesn’t contain starch and is therefore not as attractive to bugs. I do wash my quilts, which removes the starch/starch alternatives as a final step, but I feel best using a starch alternative because of how much starched fabric is just sitting in my studio; from my WIP bins to my scrap collection, there’s a lot of pressed and starched fabric in there!
Of the starch alternatives, I prefer Best Press because it really stiffens up the fabric and gives the fabric the hand I like. If I was going purely on smell in a starch alternative, I’d use Flatter in the Yuzu scent. However, Flatter by Soak isn’t stiff enough for my purposes; if Soak makes a new product called “Stiffer” in the Yuzu scent, they can have my starching dollars, but for now, I’m sticking with Best Press.
By the way, I buy the gallon bottles of Best Press (they retail for $44) and I cut the product with water: 1 part Best Press to 1 part water. It works beautifully and is affordable. Any shop with an account at a distributor like Checker or United Notions should be able to order in the gallon bottles for you if you ask.
4. Basting: Day really emphasizes the importance of basting carefully and her technique is not one I’ve seen before. It looks fairly easy on the back and knees (she uses a table top) but seems really time-consuming (she pins very densely).
I think I need to take more time when I’m basting and consider it more carefully. I tend to think of it as something to get out of the way, but I should try to learn to savor it and take pride in doing it well and carefully.
5. You may need to modify your free motion foot. The darning foot that came with my Baby Lock Jane didn’t need to be modified, as it doesn’t press into the quilt, but skims over it. Day does a quick lesson on modifying your foot to raise it up a bit and stop it from bouncing and hitting your quilt if that’s what it is doing.
6. Starting quilting in the middle of the quilt.
7. Don’t clip threads, bury those threads. I do need these reminders not to be lazy about burying my threads. It really does help with the quilt’s longevity.
8. There’s a lot of stopping and starting in free-motion quilting. Day emphasizes the importance of stopping every time you need to move your hands. This has been a tricky one for me in the past when I’ve been doing larger designs, but I’ve been conscientious about it with this current project (which has a tighter design) and it has definitely increased my control.
9. Day’s favorite gadgets. Day really likes the Supreme Slider, Magic Washers, and Machingers. I purchased a kit of these from her website at least a year ago. The supreme slide didn’t work so well on my last machine, I haven’t tried it on the Jane. My old Janome really liked the Magic Washer, I haven’t tried it yet in the Jane. I continue to love and use the Machingers (lightweight grippy gloves).
10. Machines have personalities and preferences. I really like how Day emphasizes that different machines will have different preferences on how they are used. One think she covers in the Craftsy class, that is also something I have seen on her blog in in her YouTube videos, is that some machines would really rather you didn’t drop the feed dogs for free-motion quilting. My old machine definitely performed better with the feed dogs up and stitch length at zero than any other combination. So far, the Baby Lock Jane seems to prefer that the feed dogs be lowered (but not all the way–there are multiple settings) and the stitch length set really low, but not quite to zero.
11. sidenote not from Day’s class: read the instructions for your machine and anywhere else you might have instructions: I was having trouble with this quilt at first. The thread was breaking. Luckily, I was in a patient mood, so I did what I should: I rethreaded the machine. I got out my instructions and looked at them to make sure I had threaded the machine correctly. I also moved up a needle size from an 80 to a 90. The thread was still breaking. I cleaned the machine. I rethreaded the machine again, this time I checked and re-inserted the bobbin. The thread was still breaking. I finally noticed that my thread–it’s a thicker variegated cotton from Sulky–said on it to use a top-stitch needle. I followed the thread manufacturer’s instructions and switched to that needle type. PROBLEM SOLVED.
//
There are a lot of variables involved in quilting, you’ve got to take control of as many of them as possible! What’s up with you all? What are you learning these days? Are you like me, occasionally running to your Pinterest board of Inspirational quotes so you can keep going?
*Amazon and Craftsy Links are affiliate links. I have professional affiliations with Baby Lock, Sulky, and Aurifil.
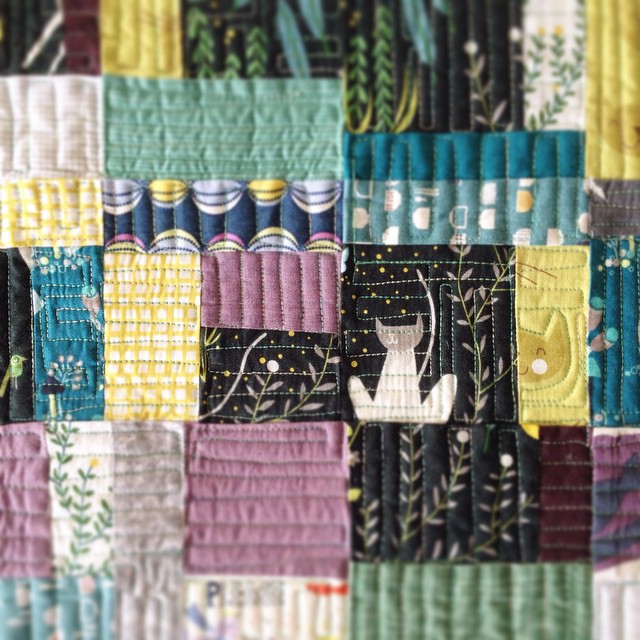
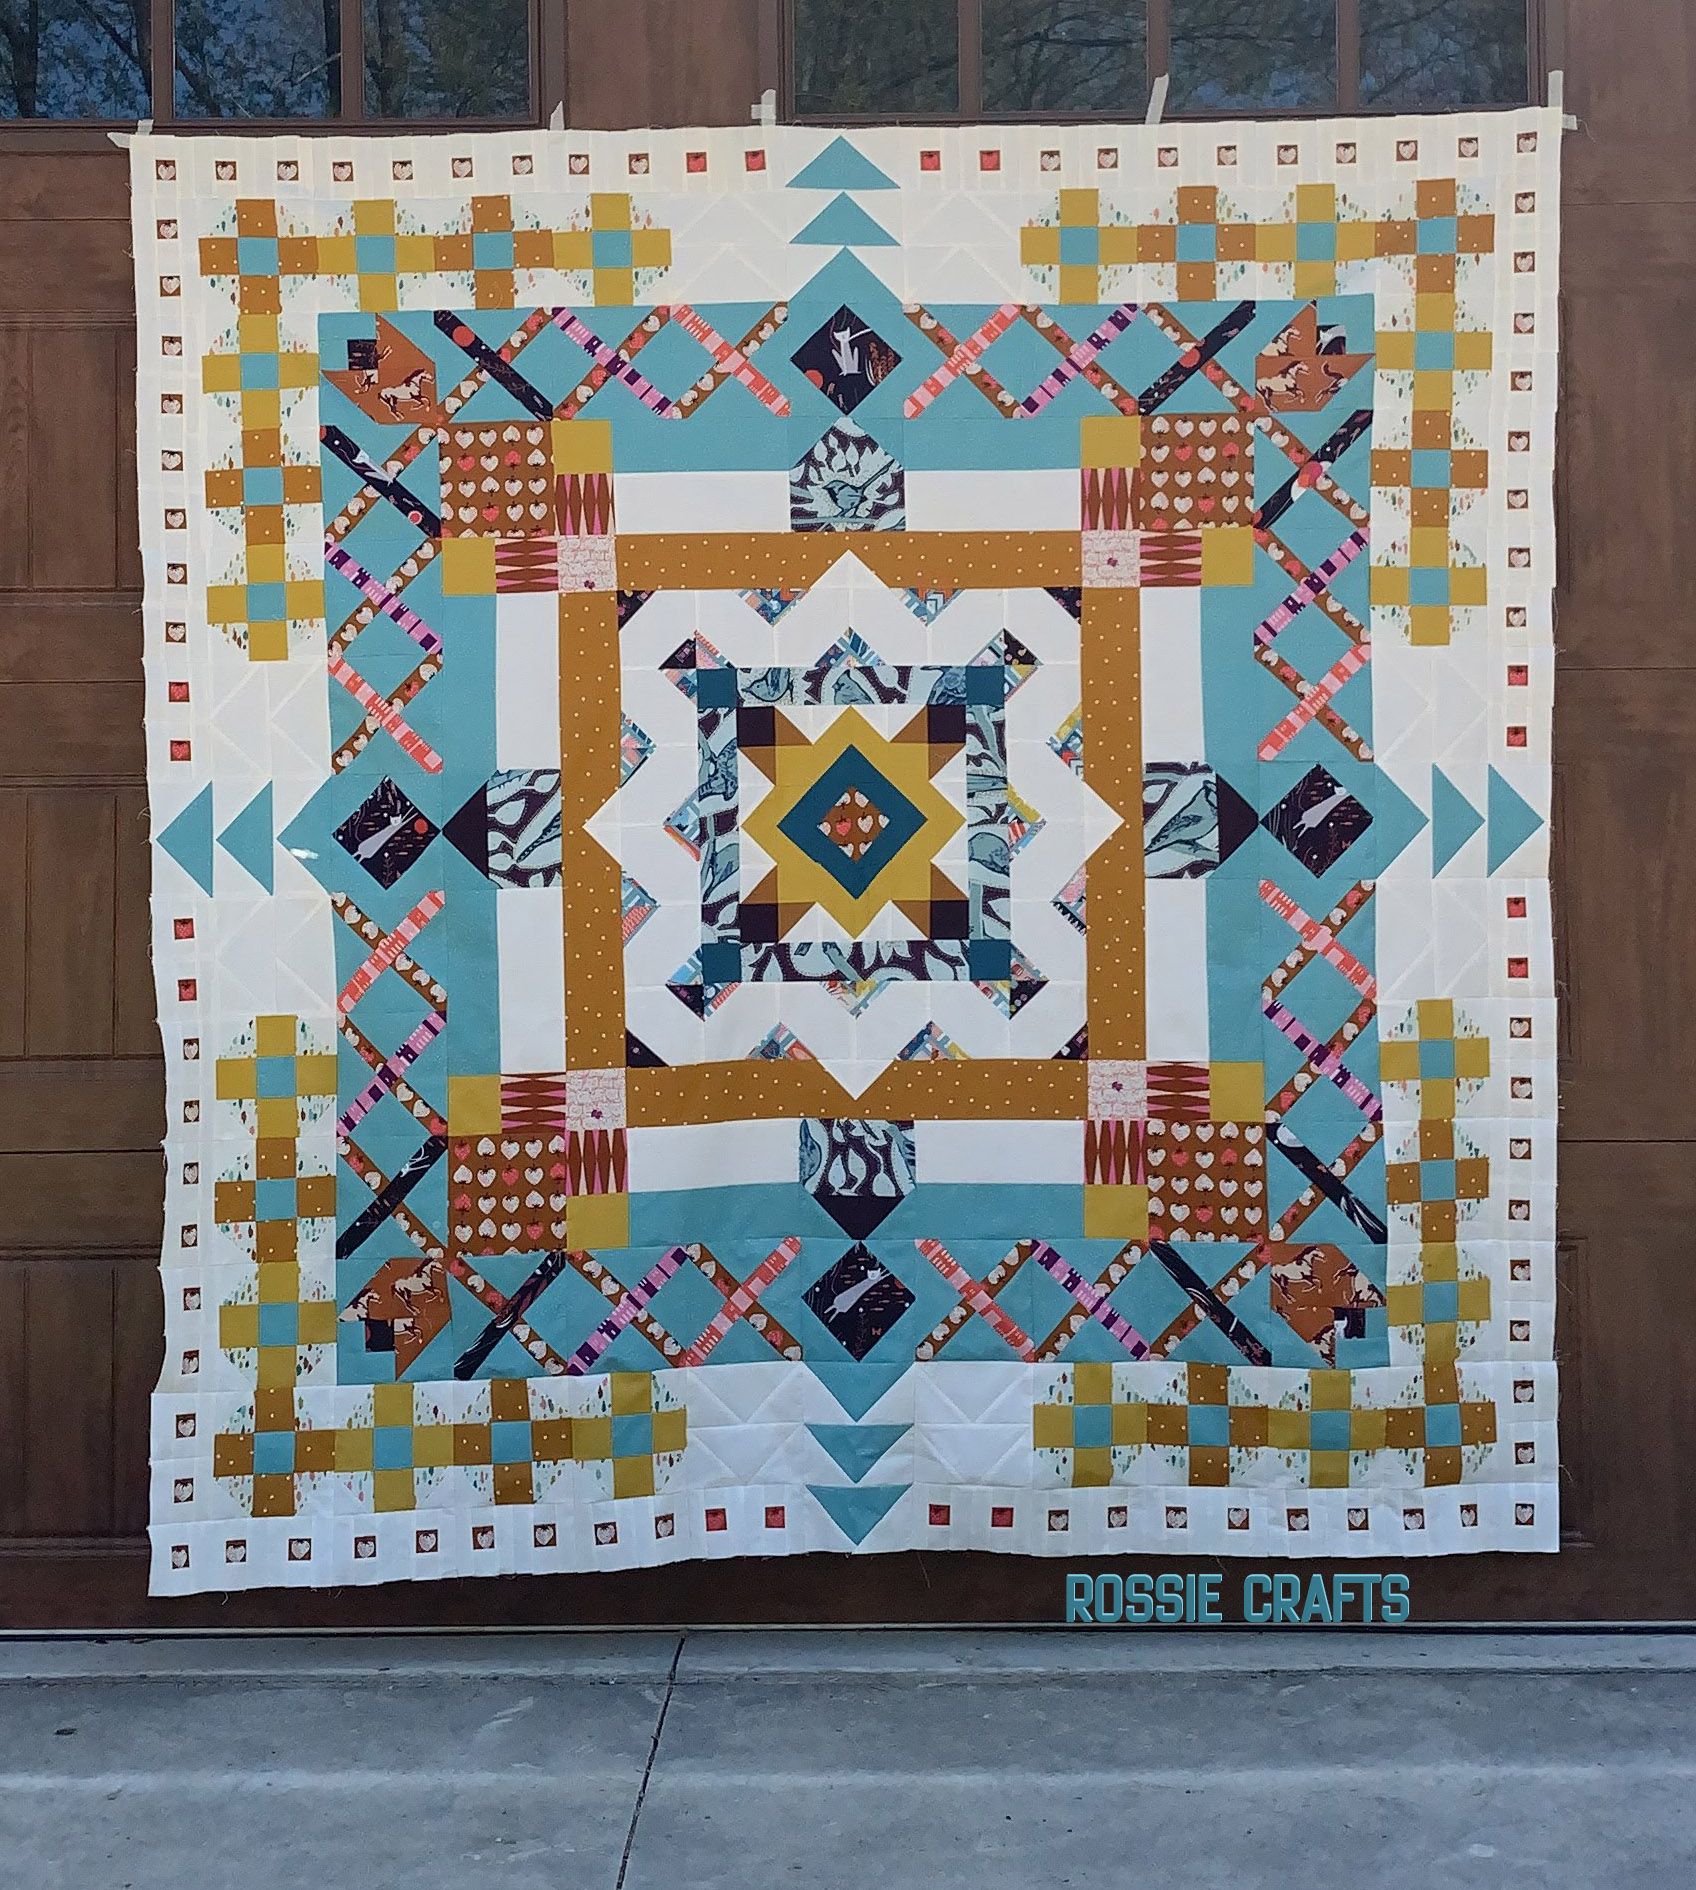
To see this quilt finished…
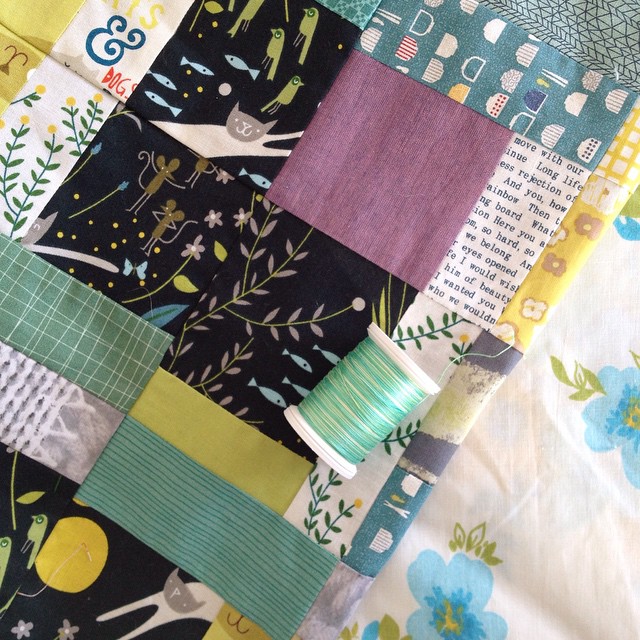
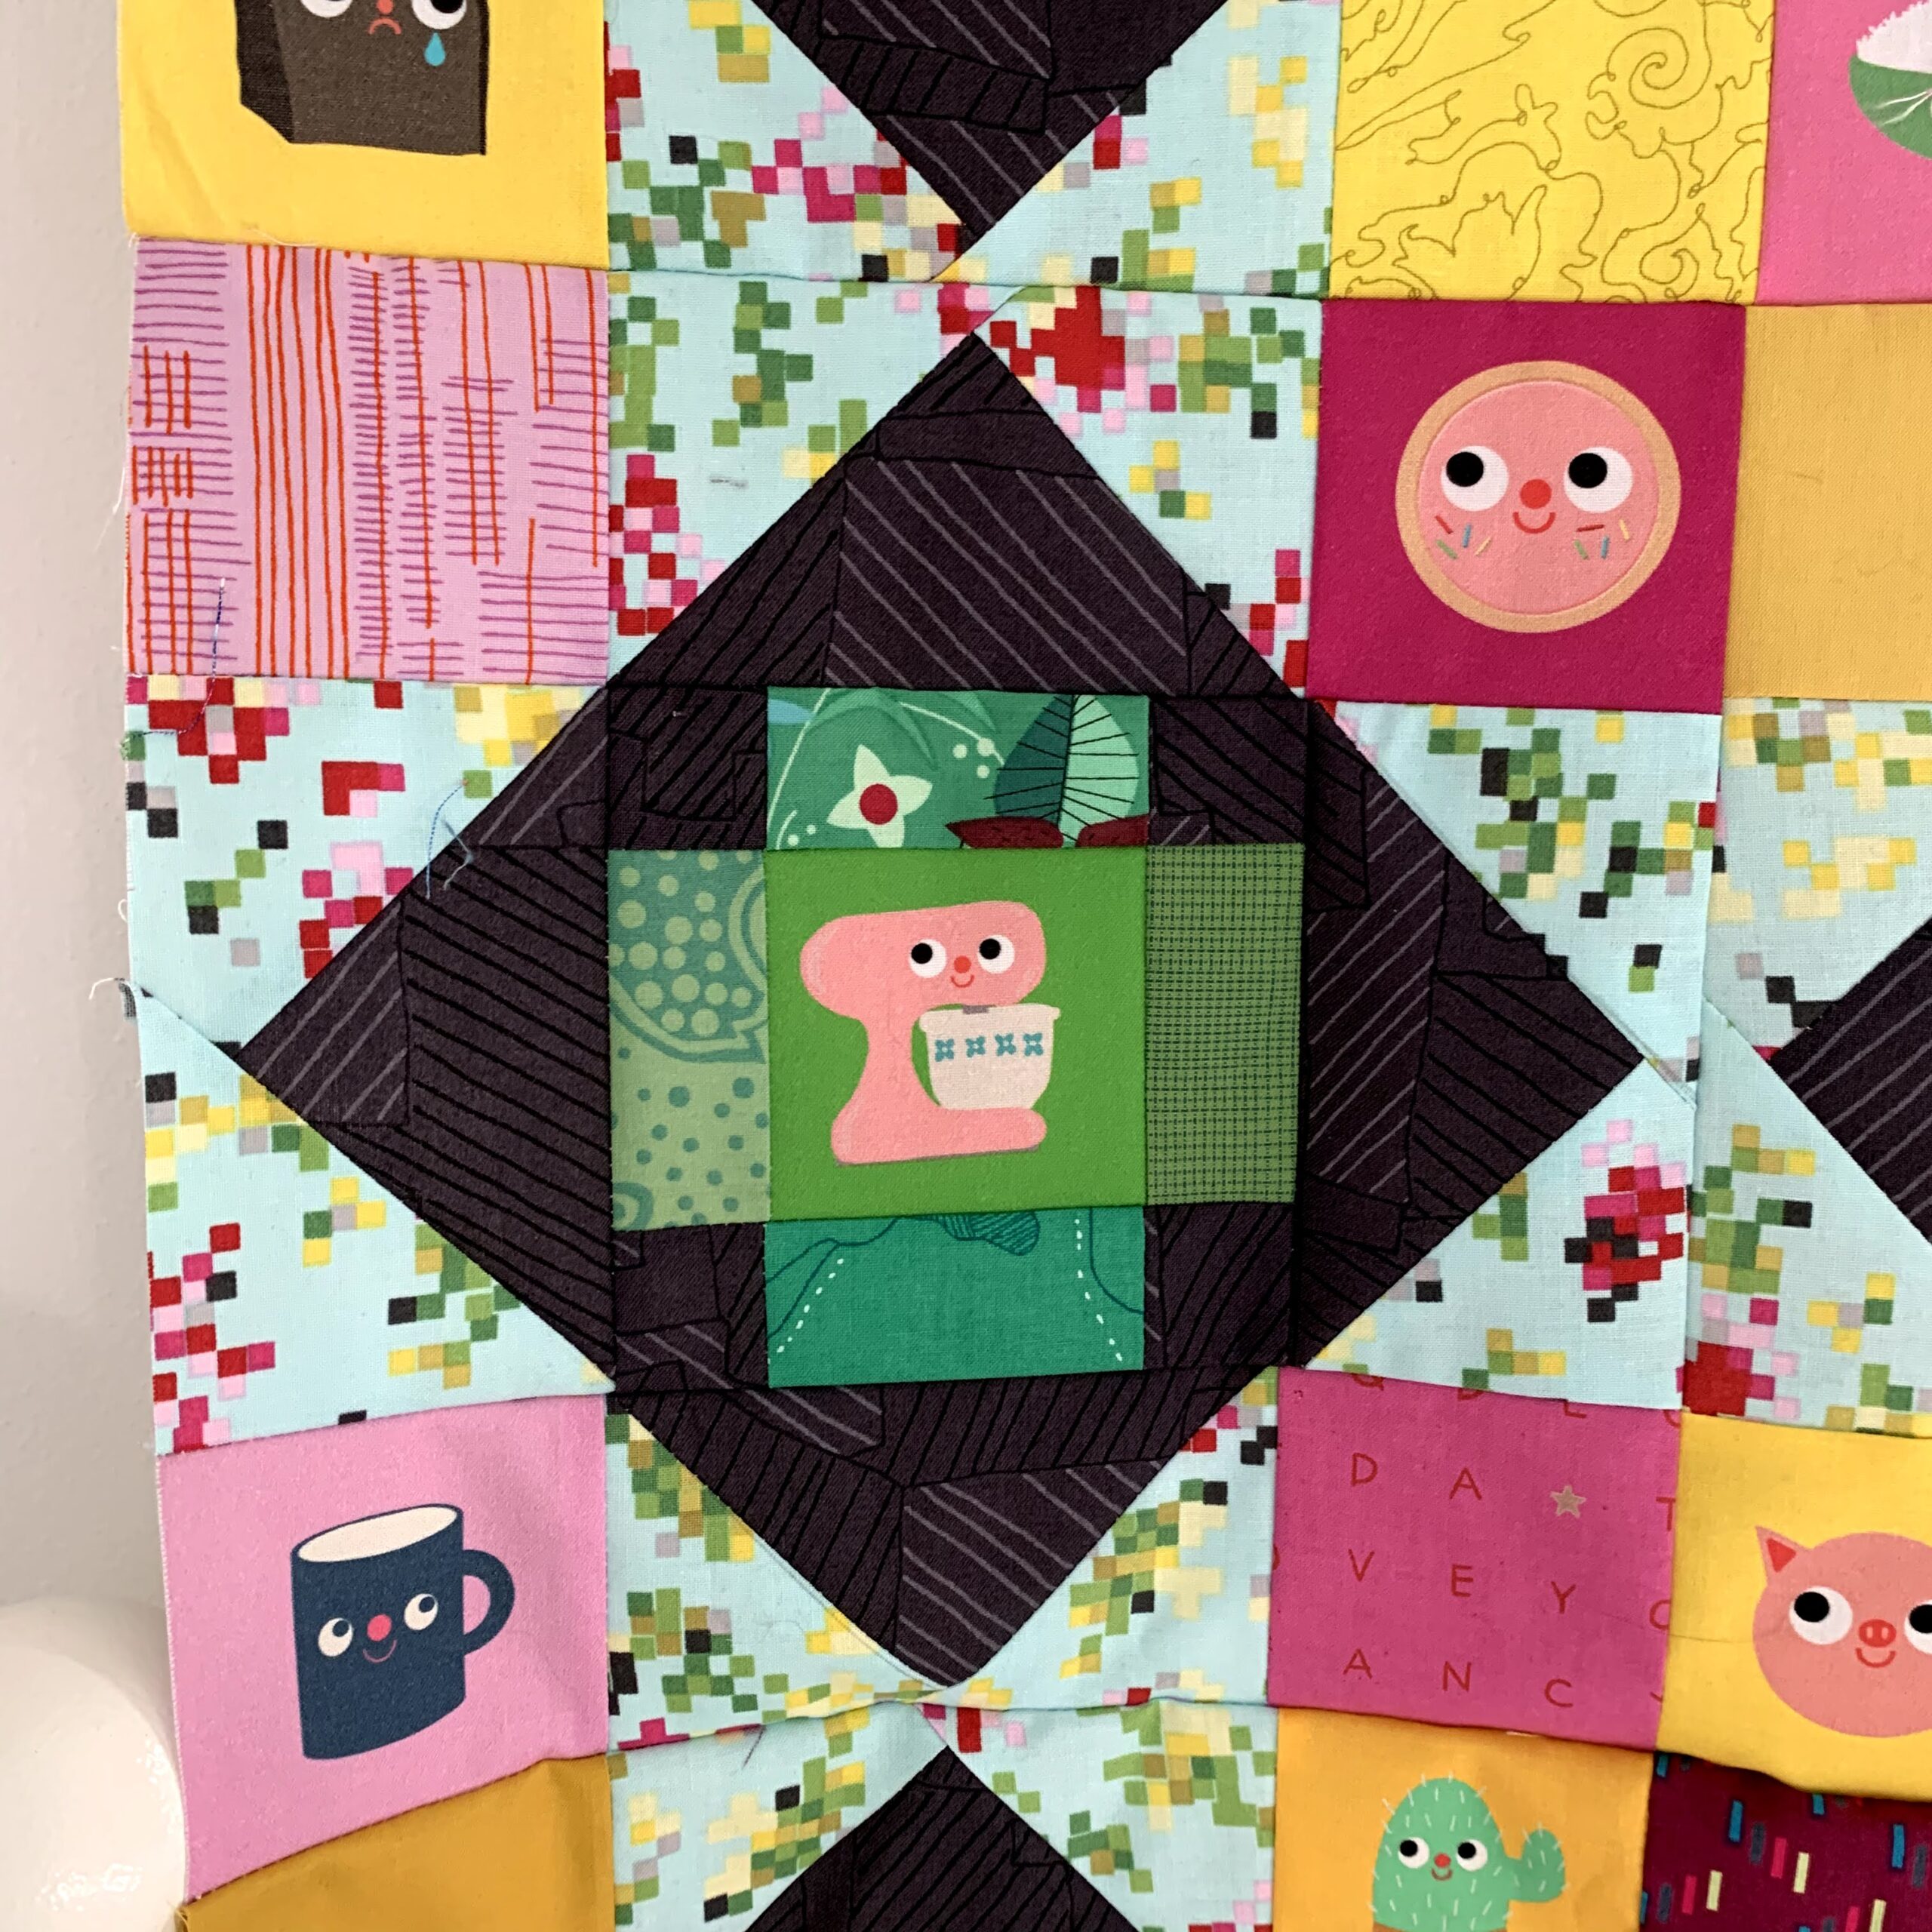
And for a tutorial on the patchwork block..
Related Posts

This Post Has 7 Comments
Comments are closed.
How does one best bury threads in the middle of quilting? Half the time I hit my auto-thread-cutter without meaning to and end up with a little teeny thread end. I'd kinda worked around my guilt by making a habit of backstitching before cutting thread so if I had to trim instead of burying it wasn't so bad. Are there better techniques?
I think it looks tidiest to start and stop with buried threads. Here's Amanda's tutorial….http://crazymomquilts.blogspot.com/2012/06/how-to-bury-knots-when-machine-quilting.html I do what she does. Could you put a post it on your auto-cutter to stop yourself? And I imagine back-stitching does help stabilize a bit compared to just snipping! It all depends one the life and aesthetic you imagine for your quilt!
I also used to habitually hit the auto cutter, I washi tape over it to stop myself now! I'd love to progress my FMQ skills from meandering and pebbles so I think I'll book mark the classes for the summer holidays when I have a little more time to practice.
This is an excellent post, Rossie! Thanks! I've got a ton of Craftsy classes I'm trying to work my way through, but I might have to add a Leah Day one now!
I think I knew everything you said. But I needed to hear them. Again. Especially the parts about starching and basting. Thank you!
Always love a sneak peek! And the Roosevelt quote – action always trumps inaction – my word!
[…] feed. Specifically, here. It was so fast and accurate. As I mentioned in my previous post about quilting this quilt, this quilt was purchased by a friend to give one of her friends, who just had a baby. This […]